Do you find it difficult to adjust the exposure on your camera? Wondering which tools and settings you need to balance for proper exposure in your videos? Proper light exposure has ideal brightness and shadows on the subject in your video or photo. Use tools such as a light meter or zebra stripes to fix the exposure. In this clip from our video content course, we explain two camera settings used to control the amount of exposure in images and videos.
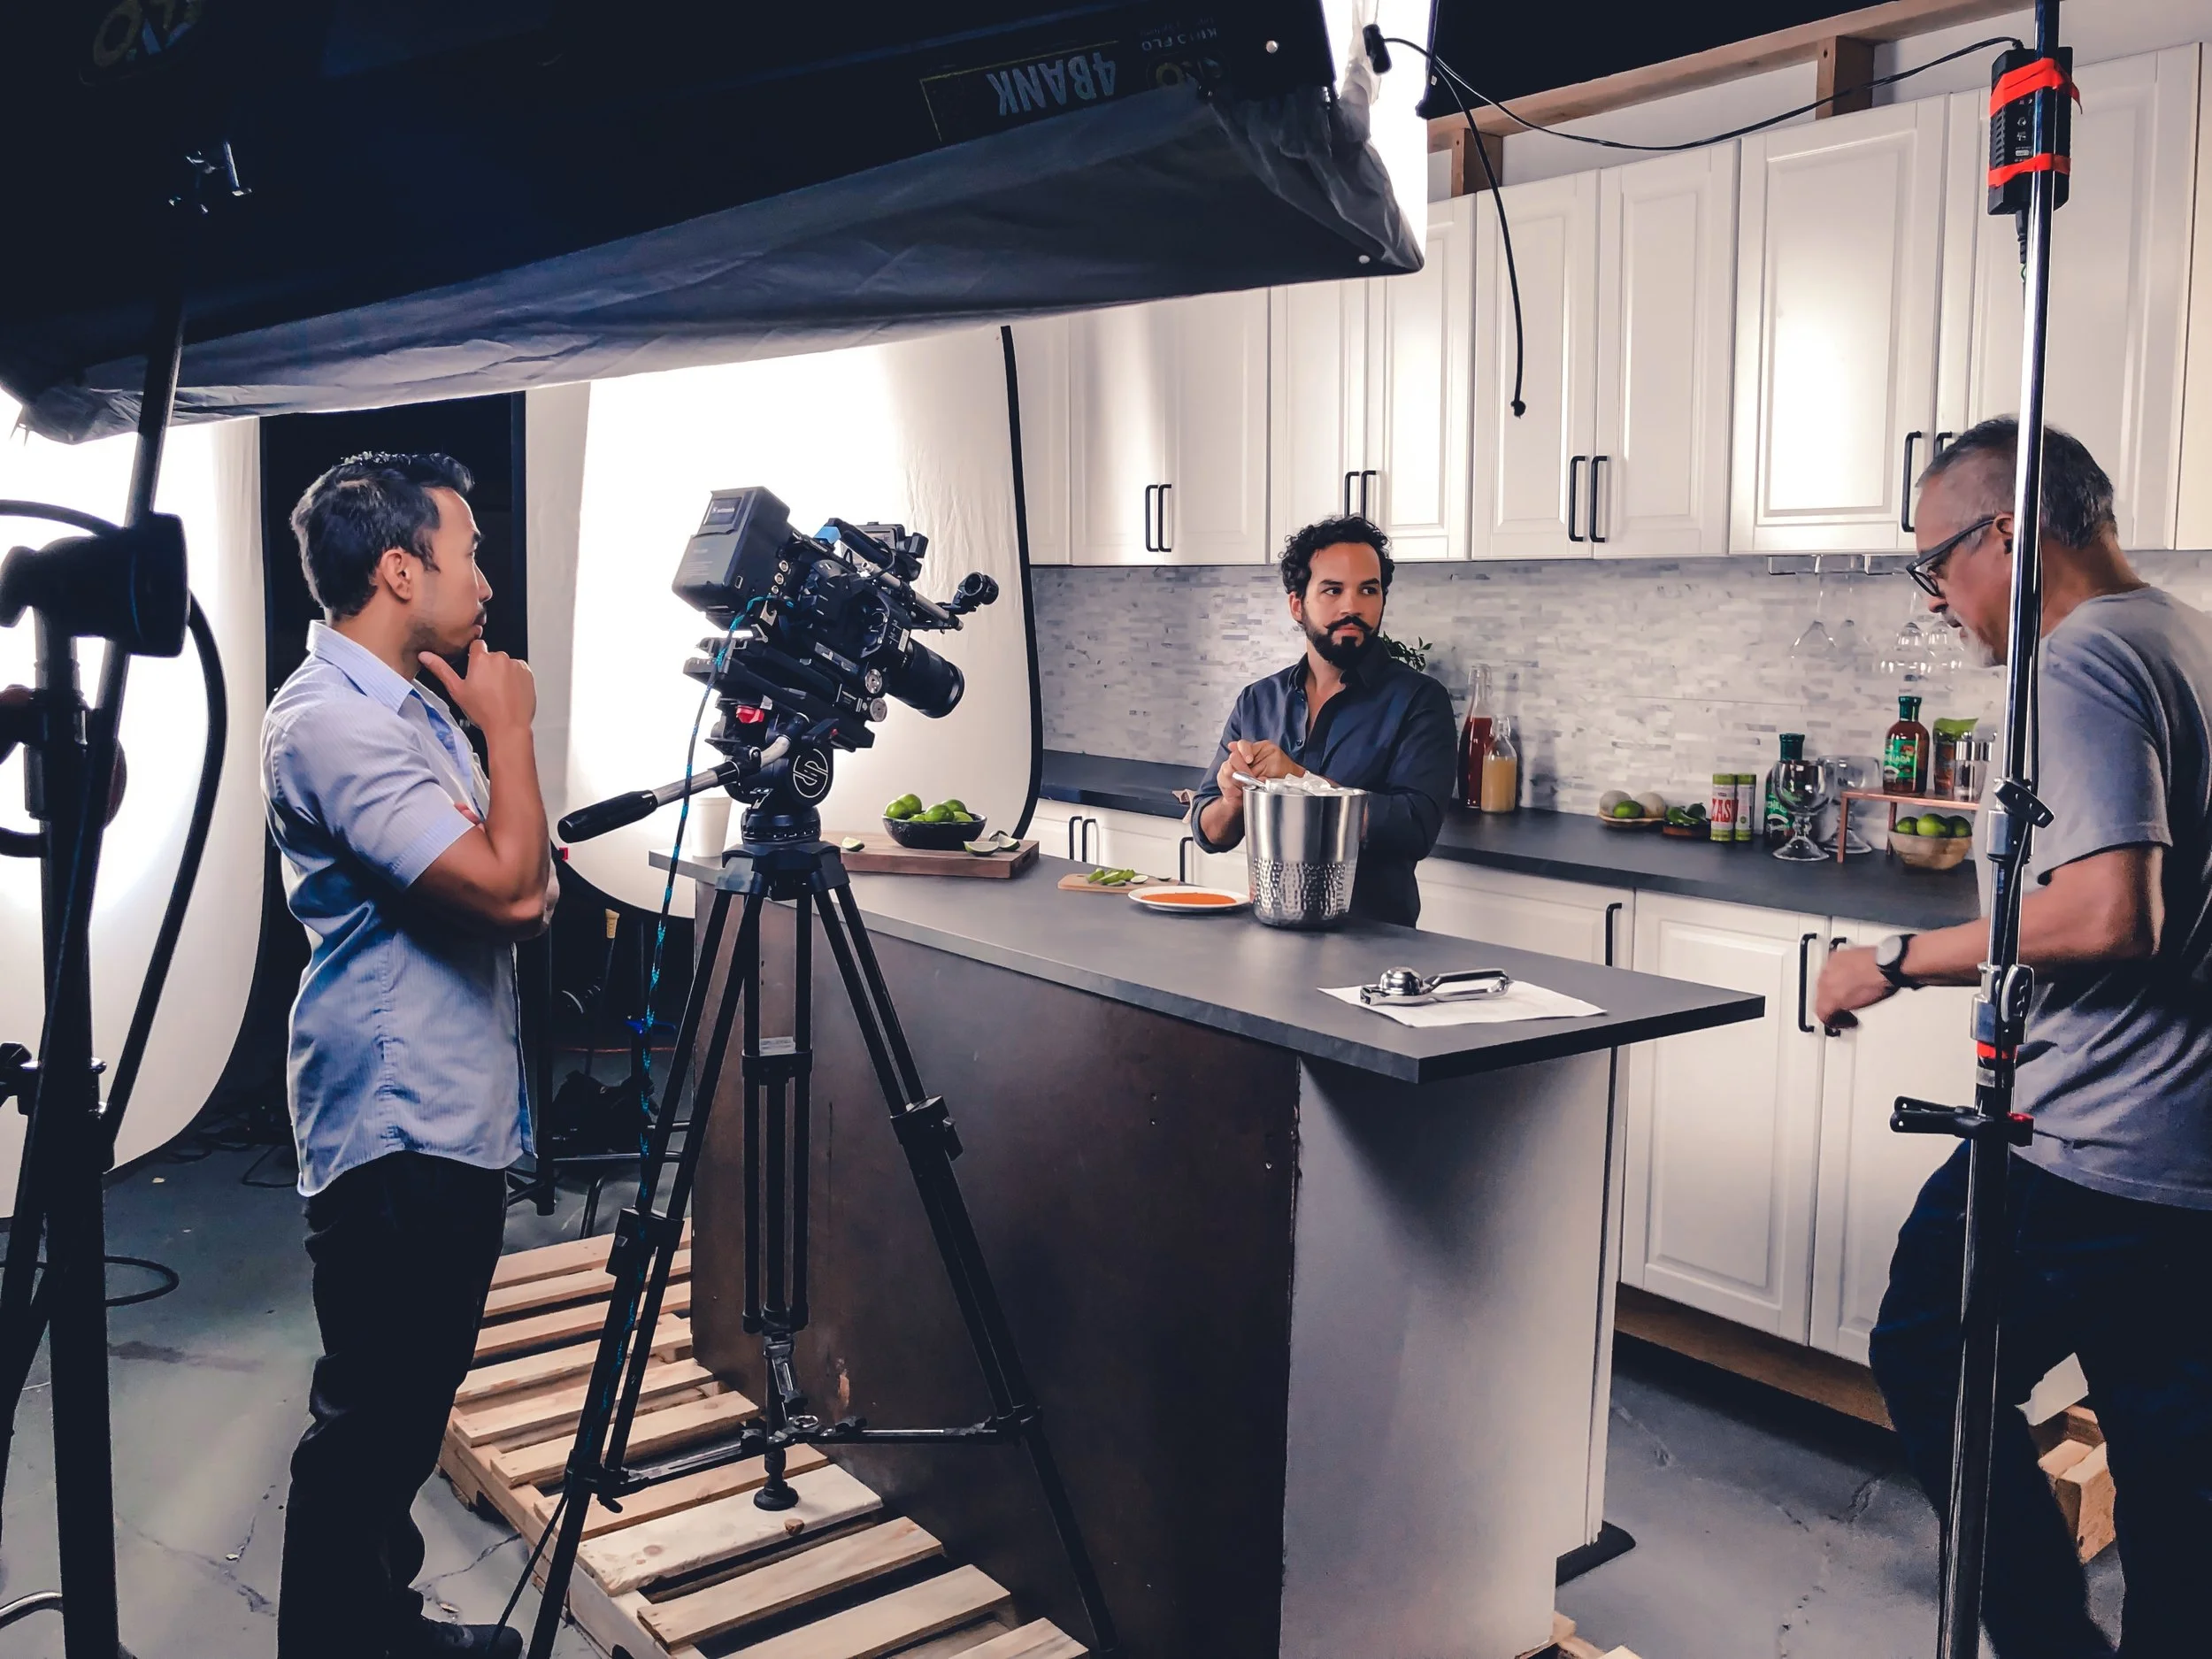
Flying Dog's Vicious Hook Beer Behind the Scenes
Would a Knuckle sandwich make a good pairing for Flying Dog’s Vicious Hook beer in this behind the scenes edit by Kyle Romanek? 🥊
Watch below:
Understanding Exposure
Do you need to adjust your exposure in your camera settings? An image or video with correct exposure does not have the subject lost in the highlights or shadows. Know how to control the exposure on your camera by using a light meter or zebra lines so that you can recognize when your images are overexposed or underexposed. In this clip from our video content course, we go over two camera settings you can use to control the amount of exposure on your camera.
Filming Outside
Are you planning on shooting outdoors? Be prepared with what and how you want to shoot before you film anything outdoors as the location, time of day you plan to shoot, and legal documents all play a role in choosing the site. As shooting in exterior surroundings can be unpredictable, carry tools such as a windsock, ND filters, LED lights, and other essential camera sound and lighting equipment with you. In this clip from our video content course, we go over tips and advice to make filming outdoors a breeze.
Focus & Depth of Field
Can’t see the shot you just took clearly? Don’t know which camera functions adjust the focus? Understanding focus and depth of field will provide that control you need to affect the sharpness of an image and that creative push in the details of your photos and movies. We’ve got a detailed video that should help you improve the image clarity on your shots in film production.
One of the worst feelings as a filmmaker is to spend hours getting a shot just right, only to discover that it was out of focus. Having sharp focus is absolutely quintessential, and draws the line between seasoned and beginner filmmakers. There are several factors that affect focus, and we’re here to help you understand them, so you can get the sharpest image possible.
Before we even talk about the factors, what exactly is depth of field? Essentially, depth of field is a measurement of the range of acceptable focus in a frame. So if your depth of field is 9m, anything outside of that 9m will be out of focus. The placement of this range is based on the 1⁄3 - 2⁄3 rule. This rule states that if you focus on a subject, 1⁄3 of the depth of field will be in front of the subject, with the other 2⁄3 behind. So going back to the 9m, if you were to focus on a subject, 3m in front of them would be in focus, and another 6m behind them would also be in focus. Now that you know what depth of field is, we can talk about the 3 factors that affect them.
#1 - Aperture. The aperture of a camera is how open the lens of the camera is, and so how much light can be registered. When a camera’s aperture is more open, the depth of focus will be less, or more shallow. If the aperture is more closed, the depth of focus will be higher, or deeper.
#2 - Lens / Focal Length. Different types of lenses have huge effects on the image a camera produces. The wider a lens is, or the lower the focal length, the deeper the depth of focus will be. The longer the lens, such as telephoto lenses, the deeper the depth of field.
#3 - Distance of Subject to Camera. If you focus on a subject, the distance of them to the camera affects the depth of field. The closer your subject is, the shallower the depth of field. The farther they are, the deeper the depth of field.
Colour Temperature
Uh oh! Looks like the lighting in your video is a little off. Having a blue or orange tint in your photos or videos doesn’t look natural. Adjusting the color temperature on your camera settings based on the light source of your environment can help make your videos and photos look accurate. If you’re confused by what color temperature is and how it affects your photos, don’t worry. Our research explains this concept to help you with your shoot!
You may notice that when shooting in various locations, there is a slight blue or orange tint to your video. This is due to your colour temperature. Colour temperature is an aspect of photography often overlooked by beginners, and can completely change the tone of the video or photo. We’re here to help you understand this photo to get the look you want just right.
So what is colour temperature? First of all, it has nothing to do with the actual temperature or heat of an object. Rather, it is a temperature of the hue a light source emits, measured in degrees Kelvin. (K) The 2 most common measurements of colour temperature are 3200K and 5600K. This is because indoor lights emit a temperature of roughly 3200K, known as “Tungsten” light, while the sun emits a temperature of 5600, known as “Daylight”. These are by no means the only existing measurements, but they are the most common ones.
So what does this have to do with photography? Colour temperature is an option in all cameras. The basic idea is this: if your camera’s colour temperature is set to the same colour temperature as the lights you are shooting with, everything will appear “normal” and a pure white object, such as a sheet of paper, will be white. If your camera’s colour temperature is lower than that of the lights, your image will appear blue, while if your camera’s colour temperature is higher than the lights, the image will appear orange. The larger the difference between the camera and light’s colour temperature, the more extreme this blue or orange hue will be.
Modern cameras have the ability to set the camera's colour temperature to exactly that of the lights automatically by taking a picture of a pure white object under the lights where they are shooting. On the other hand, you may set it to the presets of Tungsten and Daylight, or to a custom number. Colour temperature should always be taken into account when shooting a video, as it has dramatic effects on the tone and style.