Discover how to enhance your product videography with in-camera effects and expert lighting techniques. Learn from MK's Instagram post about using the Amaran 150C, Spotlight SE, and a pocket torch to create captivating visuals.
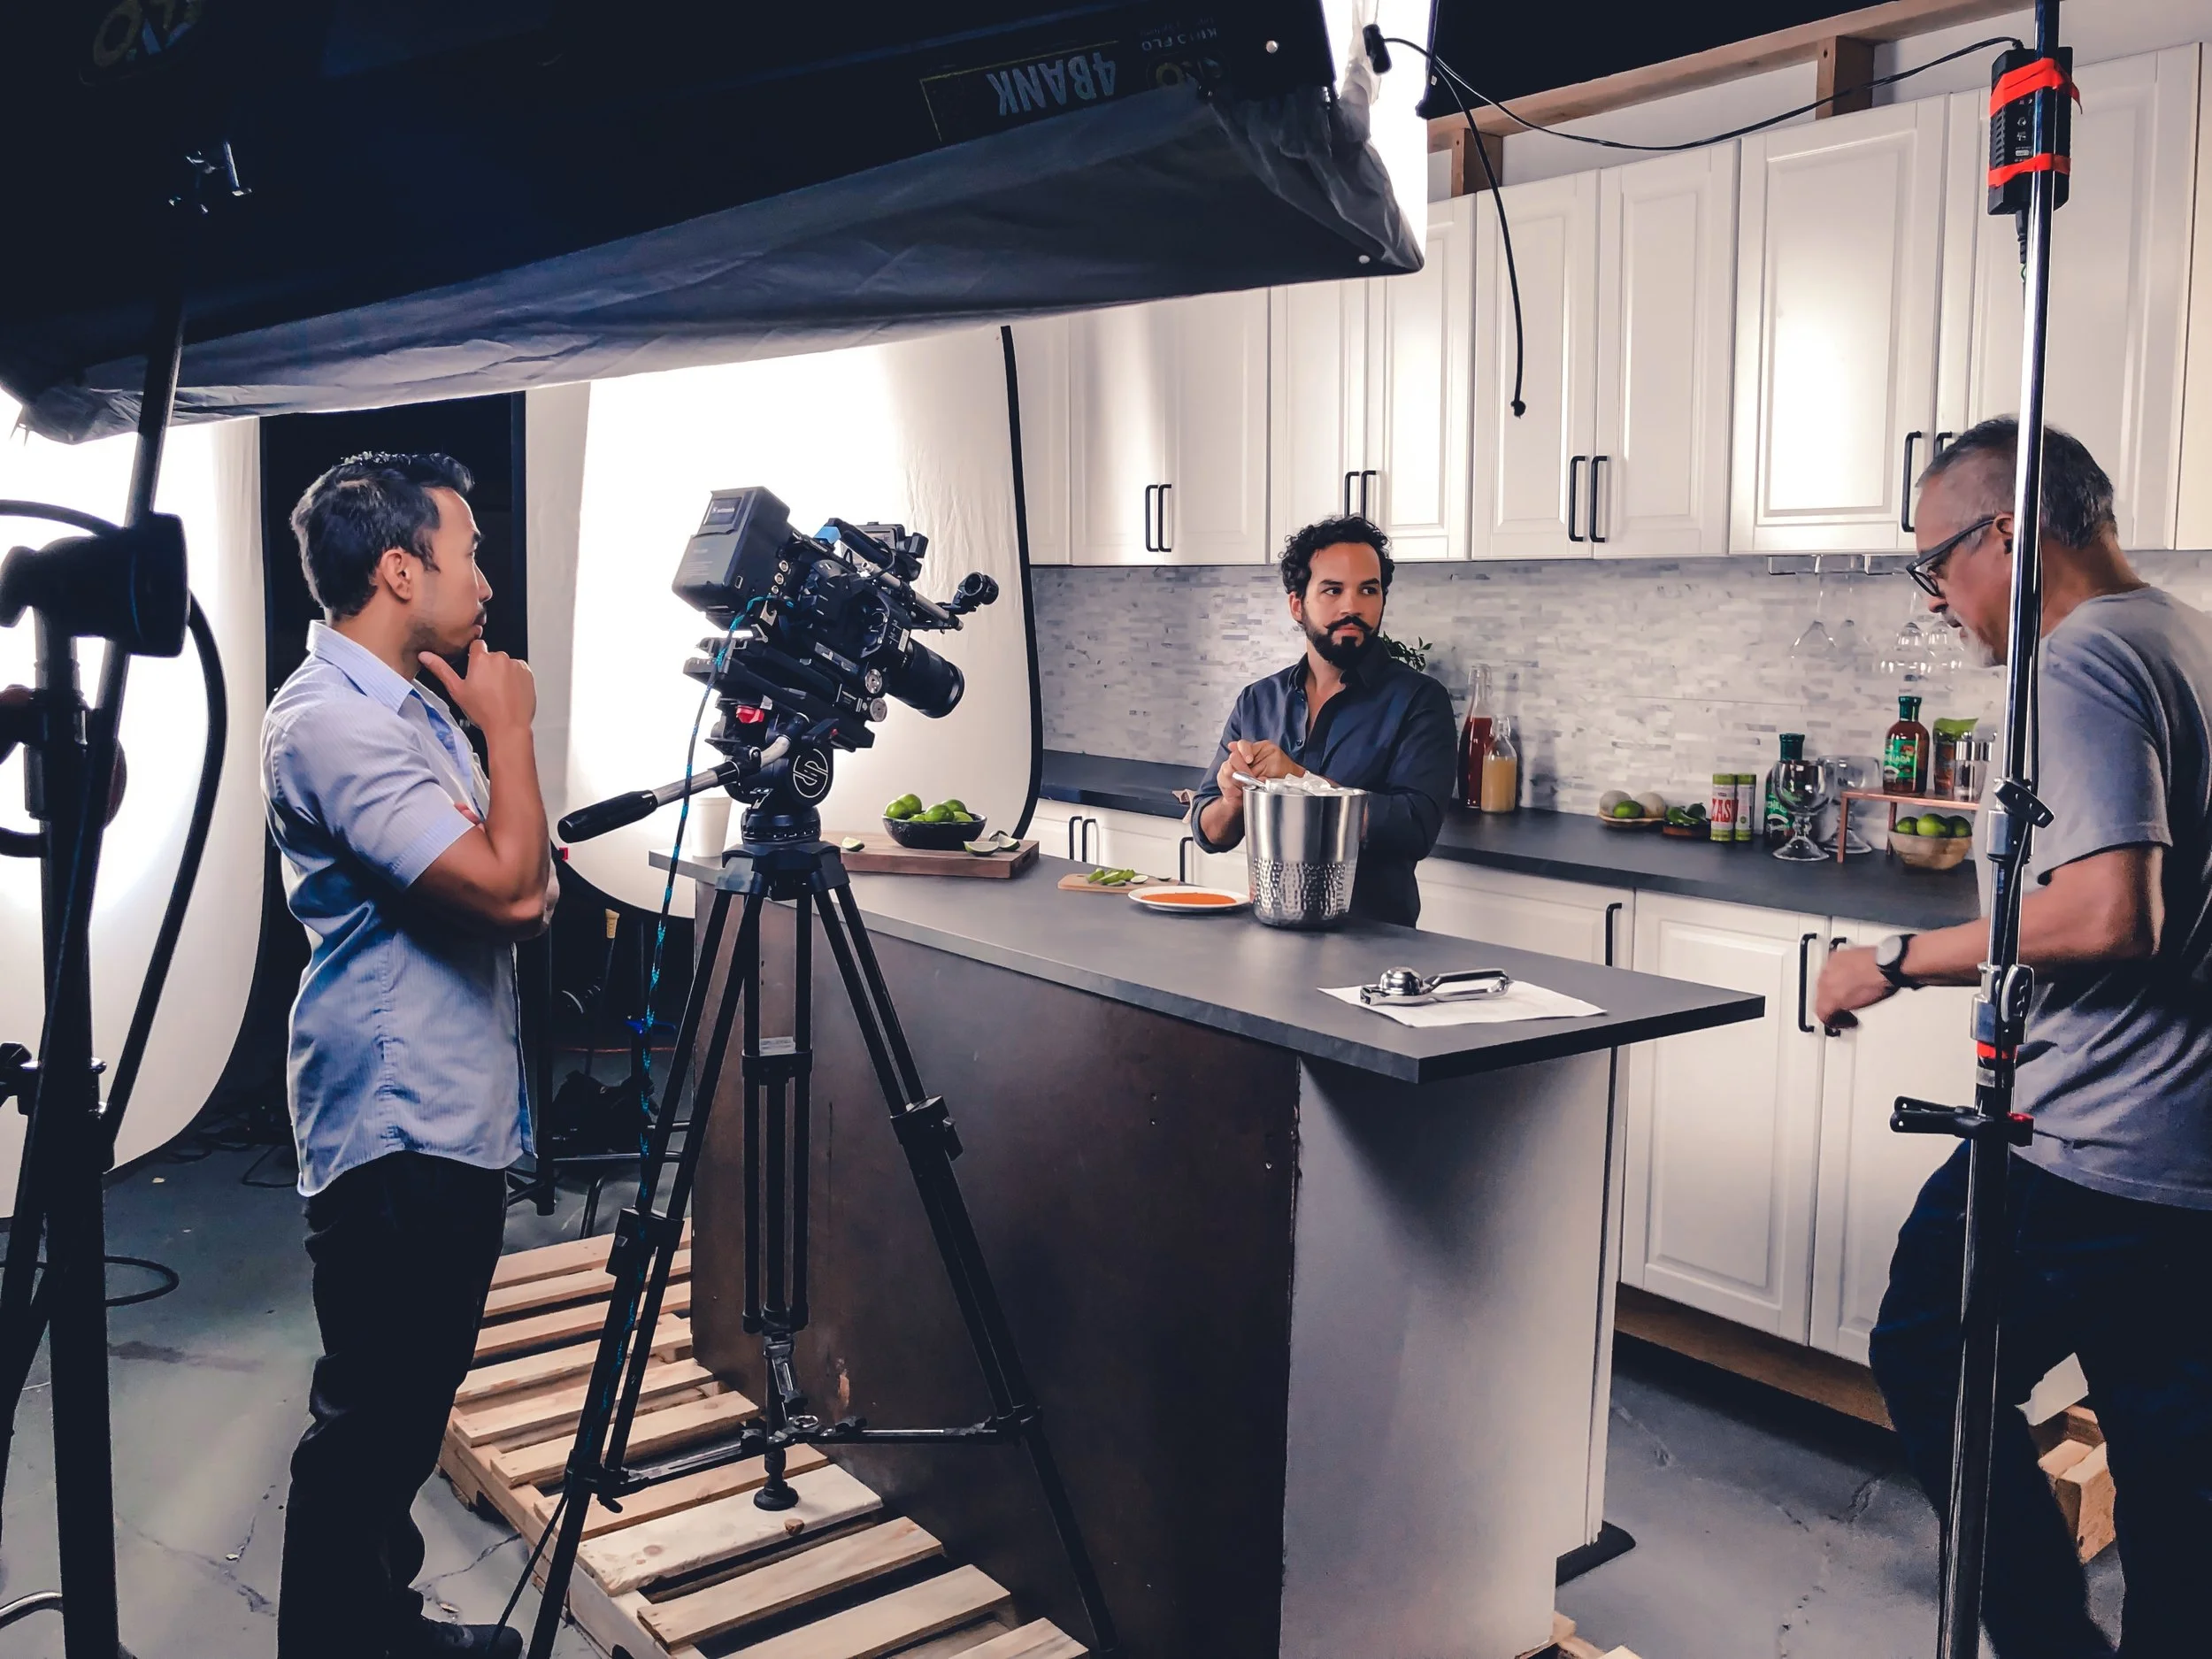
Behind the Scenes of Foodist Films' Great Lakes Beverage Ad
How to Setup A Studio At Home To Shoot Videos
Are you creating videos consistently and need to use a studio on a budget? Decide which types of videos you plan to make so that you can set up the room in your house or office accordingly. After you’ve established the videos you’re making, use lighting, backgrounds, camera gear, electricity, ventilation, and soundproofing that is suitable for the video type and time of day you are shooting. Learn what you need to create an in-house studio to house all your production equipment and produce the videos you want in this clip from our video content course.
Best Lights For Video Content
Which type of lights is best for your video production? Tungsten, fluorescent, or LED lights? Choosing the lighting in your video production is a crucial task as it sets the tone and mood for the scene you’re shooting. Become acquainted with the lights available and how their use might benefit your needs. In this clip from our video content course, we break down the advantages and disadvantages of using tungsten, fluorescent, and LED lights.
Nike Stadium Lights Edit
Watch this impressive edit showcasing a massive lighting display at a stadium by Matt Ardine below.
Understanding Exposure
Do you need to adjust your exposure in your camera settings? An image or video with correct exposure does not have the subject lost in the highlights or shadows. Know how to control the exposure on your camera by using a light meter or zebra lines so that you can recognize when your images are overexposed or underexposed. In this clip from our video content course, we go over two camera settings you can use to control the amount of exposure on your camera.
3-Point Lighting
How does 3-point light work to elevate the lighting of your subject? 3-point lighting works as a guide to light up your subject and scene using three lights called the key light, fill light, and hair or backlight. Each light is positioned at an angle that compliments the mood and style you want to portray. In this clip from our video content course, we explain the functions of each light in the 3-light kit.
Using a Studio
Need a studio to produce your videos? Having a place dedicated to shooting your videos can give you the flexibility to create what you want at a time and place that is convenient for you. Keep what type of videos you are producing in the back of your mind as you adjust the studio space. In this clip from our video content course, we discuss renting vs. creating a studio, and how important rearranging the lighting, background, electricity, ventilation, and soundproofing the studio is to the type of video you’re shooting.
Understanding Lighting
How is the lighting on your videos? Do you need more information on which type of lighting is efficient for your production? Understand which lighting is cost-effective, energy-efficient, and flexible for your video creation needs. In this clip from our video content course, we dive deep into the uses of these types of lighting: Tungsten, HMI, Fluorescent, and our recommended LED lights.
Elevate Your Videos Professionally Following This Beginner Guide

How do you make your videos stand out? Are you new to creating videos and are thinking about retreating to when you never had videos in your content strategy? Don’t give up hope yet! Our guide goes through all the components necessary to make professional videos without needing professional equipment.
No need to purchase a new camera! Use your cellphone or borrow/rent a camera as you get used to creating videos. Before you pick up a camera and start recording, know that the content in your video matters more than the video itself. Plan out your script and include your target audience’s persona in your plan and how you want to edit the video. What do you want to convey to your audience? Have these in mind before hitting record.
Now that you know the target of your video, it’s time to pick your video's location: indoors or outdoors. If you choose to film indoors, you have the option to film behind a real background, such as an office space or behind a solid background, like a green screen. If you choose to film outdoors, film in an area that does not have a lot of noise. Either way, film in lighting that is natural, soft, and not harsh on you or your subject. Choose the background that is consistent and suits your type of video best.
It may take you more time in post-production to edit out what you don’t want in the video. To save you time, film in short segments. Make a note in your planning stage of these segments, that way you’ll know when to start and stop your video. While you’re experimenting with video cuts, experiment with how you film; which can ease the transition to the next segment and change the emotion! Now you’re ready to upload your professional video to various social media sites and your website following the specific video specifications! For more tips on how to create professional videos, click the link below!
Credit: Written by Peri Elmokadem 8 Beginner Tips for Making Professional-Looking Videos
Film Lighting & Camera Department Basics, How Photography Helped Him With Lighting Films, and Using Film As a Companion
Welcome our next podcast guest, Valentin Salembier! As a director of photography and owner of Oseku Lighting, Valentin shares his knowledge of lighting in films and the roles the camera department plays in film production. He also reminisces on his journey with photography and film, and how watching movies helped him during his tough times. Listen to episode 14 on iTunes on Creative Haven here: Film Lighting & Camera Department Basics, How Photography Helped Him With Lighting Films, and Using Film As a Companion
Basic Lighting Equipment in 2019
Imagine that you have your equipment set up, your subject and crew are ready for shooting, but a shadow casts on your subject. You constantly try to fix the lighting but nothing seems to work out. Getting the right lighting shouldn’t cause you any stress. Let your videos shine with our basic lighting options!
Lighting is one of the most overlooked aspects of film. Getting just the right lighting for your production is imperative, as too much or too little of it makes it nearly unwatchable. Looking at all the options can be overwhelming, and we’re here to help you make your production perfectly lit.
Types of lights:
Before you buy equipment, first consider the types of lights on the market. Incandescent lights are generally the least expensive and provide the most focused light, but also suffer from a short life span due to releasing large amounts of heat. Fluorescent lights last longer, but are also more expensive and give off softer light. LEDs give off more directional light, and also have a longer life span, but give off a softer light, and become less effective over time. Tungsten lights are industry standard and bright, but get hot over time and have short lifespans. Lastly, HMI lights have long lifespans and are more compact, but also are more expensive and have longer warm up times.
Softboxes VS Umbrellas:
2 of the main types of lights used in video productions are softbox and umbrella lights. Softboxes provide more controlled lights that also reduces shadows, but is generally more expensive. Umbrellas are generally less expensive, and lights a wider area, but this also means there is little to no control over the light.
Other Options:
Camera Mounted: Mounted lights are pretty self-explanatory: it's a light mounted to the top of your camera. While this does have limited options as the light source is always coming from the camera, it’s great for beginners and POV shots.
Barn Doors: Barn doors are the things you often see on theatre lights. Resembling, well, barn doors, these give the ability to shape light, giving much more options to filmmakers.
Stands/Mounts: These are pretty simple in that they give more options when it comes to lighting. You can get high and low angles, making your lights much more versatile.
Increase Your Video Quality with These 10 Video Production Equipment Tools
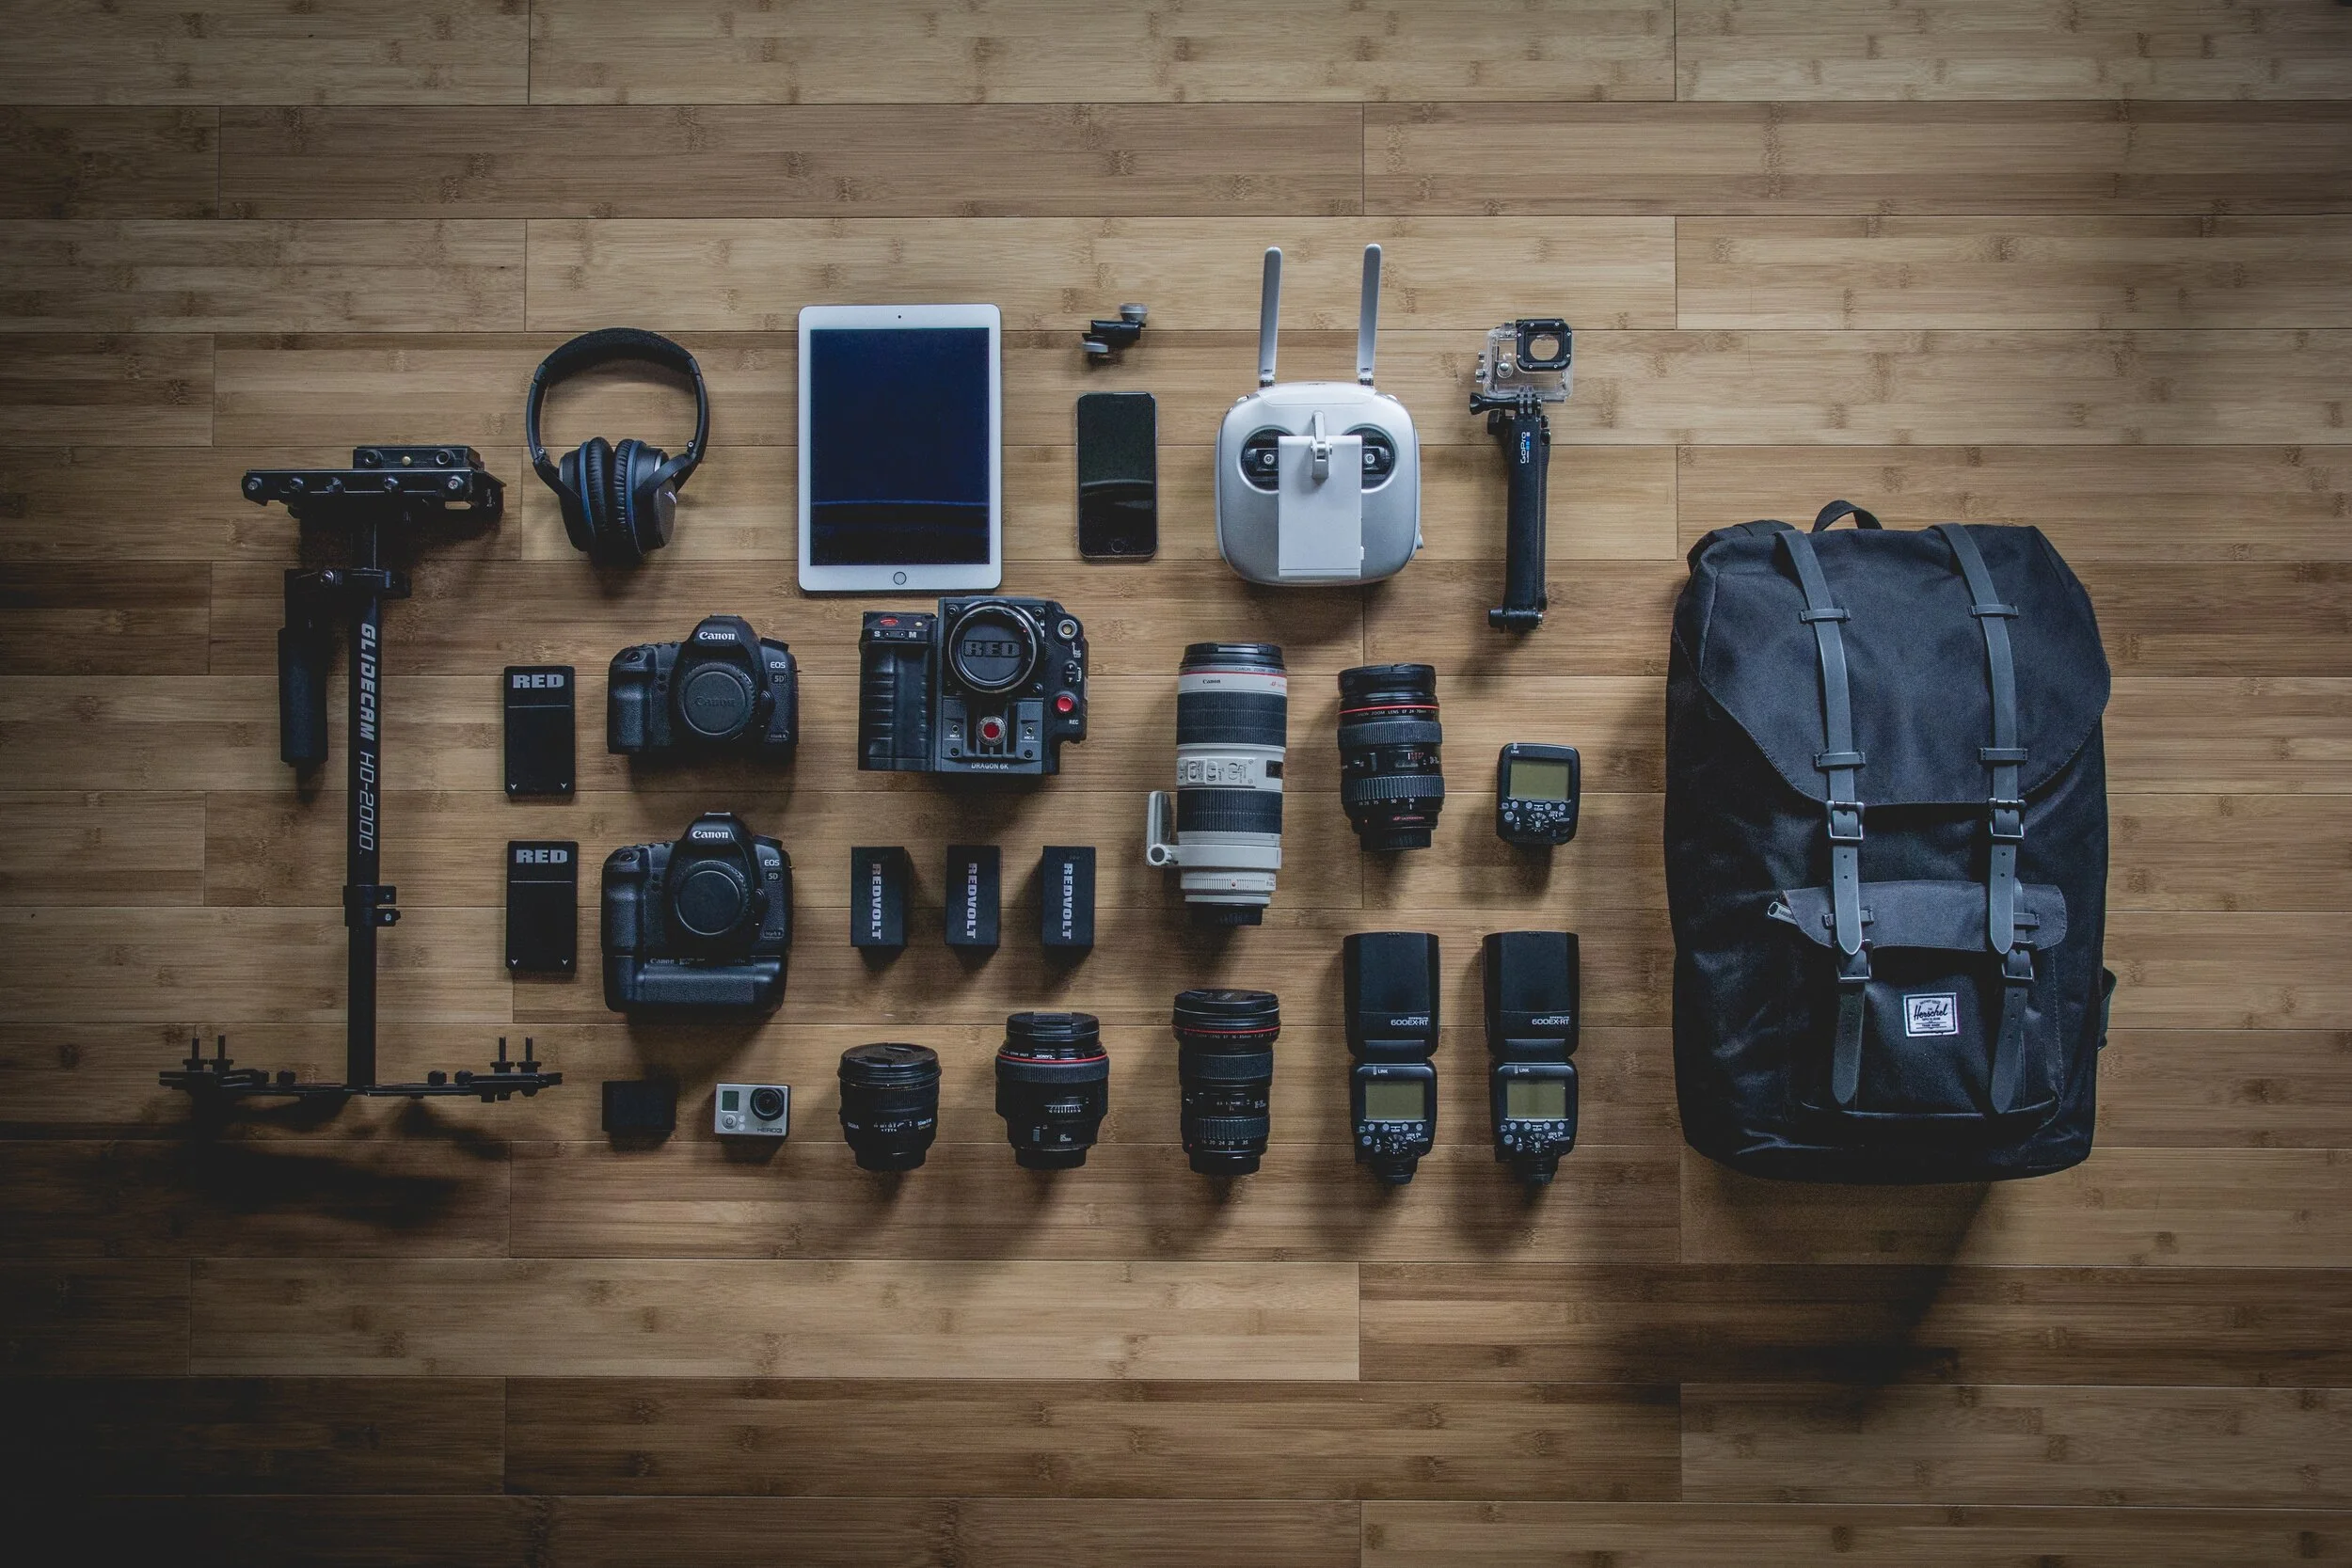
Are you a business owner or aspiring video creator looking for video production equipment? Well, look no further! This guide shows you 10 video production tools you can use to create quality content. The checklist goes over topics such as the two types of cameras and microphones, editing software and hardware, lighting, and camera stabilizing tools. The article offers great video gear for those looking to get started and offers equipment with multiple features that will improve your video content at a higher price. Either option, you can produce professional content utilizing, if not all but, most of the tools mentioned in the article! Practice using the equipment you have with the videos you make; you'll feel more confident in your next equipment purchase!
Credit: Written by: Dann Albright The Ultimate Video Production Equipment Checklist
Techniques on Shooting Product Videos on a Budget
Wondering how to shoot professional product videos without spending over your budget? Creating product videos don’t have to be expensive to produce! Find out how your product videos can be professional and unique by adjusting your lighting, camera, and setup. In the video below, Zach Ramelan from Premium Beat reveals how professional techniques and shots can be created by using inexpensive equipment or using materials such as a curtain for a backdrop. Ramelan demonstrates cinematic techniques that aspiring creatives can implement to produce high-quality shots that reveal the detail and mood of the product.
Credit: Written by V Renée How to Shoot Product Videos on a Budget
Steps to Create a Successful Interview Shoot
Getting ready to shoot an interview? As business owners and creatives, interviews are one of the types of video shoots you may create on your video production journey. Shoot your interviews easily with this video on the 7 steps to conduct a smooth interview brought to you by B&H and Chase from Zacuto. This video goes over steps such as choosing your outside environment, lighting conditions, proper audio equipment, spacing and tips on interviewing your interviewee. Each step also offers tips and insights that should help you, especially when shooting different interview topics and lengths. For more details on how to produce professional interviews, watch the following video below!
Credit: Written by Joe Marine 7 Simple Steps to Help You Shoot an Interview
Key Lighting Equipment to Invest in Your Business

Are you producing videos and taking photos with inconsistent lighting? Having a good source of light is crucial to producing a video for your business. Investing in valuable lighting equipment will help aspiring creators and business owners create the content they desire. The types of lighting equipment discussed in this article will lead you to the kit you need based on how you intend to use the lighting for your videos and photography. The article also mentions the activities and main uses each lightning kit has which can help you make your buying decision easier.
Credit: Written by Pixelz Lighting Equipment 101: Why to Invest and What to Buy
How to light a video interview

I’ve worked with numerous brands and corporate clients on creating videos to promote their products and services, and one of the most common videos we produce are “Founders Videos.” These videos explain the background of the company and its founders through archival footage, animation, day-in-the-life footage, pictures, images, and most importantly, interviews. When shooting these interviews, I’ve found myself in difficult situations and settings where lighting is not ideal. In a library basement, an artist greenroom, a dark night event, to the middle of a busy street, I’ve been through it all! What I’ve learned is that a good interview requires 2 technical elements: sufficient lighting and clear sound (which we’ll talk about in another post). You can shoot on an iPhone or a RED Camera, but if your subject isn’t lit well or can’t be heard, the interview is ruined.
So how do I light a subject correctly? The basic and most effective way is 3-point lighting.

3-Point Lighting
For interviews
I learned this in film school and is the most effective way to light a person in any situation. The key light is your main lighting source, in which you would have on at the highest brightness when compared to the other 2 lights. The fill light “fills” in the shadows on the face so the subject doesn’t look like a Mobster Movie Villain and has their face fully visible. This shading of shadow on the face gives your subject more character and depth rather than a flat look. This is of course your preference so feel free to use the fill and key lights differently as a balance between a contrasting look or a flat look.

Contrast
More key than fill

Flat
Key and fill equal
The position and height of the lights are also key (pun intended). It can be placed overhead, pointing down on your subject, at eye level, or from below - each contributes to a specific look and feel. For corporate and basic interviews, the simple way is to have the key and fill light at eye level with the subject and positioned in the V formation like the image above.
What if the lights are too harsh? Use softboxes or diffusion gels, silks, and panels to soften the lights. What I do as an easy and inexpensive option is buy diffusion silk fabric from Amazon, cut out pieces that would fit onto my lights, and clip the pieces of fabric to the barn doors of the lights using clothespins or C-47’s (film terminology). As for lights, there are a lot of options. For an inexpensive setup with versatility, I own a set of Neewer LED Lights with barn doors (crucial for controlling your light source!). I also love Arri Skypanels, KinoFlo Select LED’s, and Litemats but for the sake of budget video production, you can do a lot with the Neewer lights I mentioned, especially if it’s just a one-person interview.
Remember the last important piece to 3-point lighting? Don’t worry, I’m not going to quiz you … but if I did and you passed, you would’ve won a trip to Starbucks with me and a cup of coffee lol :) The backlight is an essential piece to the puzzle because it creates separation between the subject and the background. Why do we want separation from the background? Because we want depth in our shot and the subject to not blend into the background. This is important to me because I feel that the human eye is accustomed to focusing it’s attention on objects that are in the foreground so creating that separation through lighting helps the viewer concentrate on the subject and not the brewery or live band in the background. The backlight also create a “halo” effect around the subject so you can see their outline, and is also called a “hair” light because it emphasizes the shape of the person’s head and hair, giving them a clear outline for the viewer to focus on.
As for the intensity of this light, I like it at 25% with diffusion. This is also your preference and also depends on your subjects’s hair - a bald man’s head can look quite shiny and distracting with a hair light. The position of the light should be out of frame and is usually placed above the subject pointing down, although I’ve backlit subjects with the light pointing up from the floor or from eye level off camera. The reason why is that in some situations, you won’t have the ability to hang a light above the subject and place it directly behind their head, so you have to find a way to light the back of the subject without having the light in the shot. My preference is off camera to the side at eye level at 25% with diffusion. A cool halo effect does happen when you place the light on the floor facing up towards the subject’s back, depends on the kind of look you want.
What if you only had 1 or 2 lights? How about no lighting equipment? I would use the sun or “practical” lights (what’s available on location like room lights or lamps) as the key or fill (depending on the intensity) and your other light as the fill, key, or back light. For example, if I was filming an interview in the day and all I had is one light, I’d use the sun to light my subject as the key light, and my one light as the fill light to illuminate the shadows on their face. A bounce board or reflector is useful in daytime exterior shooting because you can use the sunlight’s reflection to “bounce” back on to your subject’s face to fill in the shadows. If I was at an event and there were overhead lights that fully lit up the room, I’d use my other light as a back light to help separate the subject from the background since the subject would already be lit by the room’s practical lighting. And if you had no lighting equipment, you’re screwed! Not really, just challenged. The best source of light is the sun so you can light people next to windows, in the shade, or under the sun; just remember the position of the sun during the day to anticipate for shadows. At night or inside with no lighting, then you have to find some light source and use your camera’s settings to get the image possible with the lighting you have, more on that in another post.
So there you have it, film school lighting in one post. There are so many other factors that I should mention and all you film school graduates out there are already typing in my comments, but I want to keep this short and simple for people that just want the best possible solution for an affordable price with consumer equipment. If you want to nerd out on lights and lighting, email me! I’d love to share and learn more :)
I hope this was helpful. Remember the brightness ratio of your key and fill lights depending on your shadow and depth preference (I like 100% key, 75% fill, 50% backlight). Your backlight separates your subject from the background to help your viewer focus their attention. Diffusion is very helpful in creating beauty lighting and soft features. Use bounce boards and reflectors when working with the sun. And of course, experiment and practice! I’m not an master, just an artist that loves making videos :) Email me if you have any questions, thanks for reading!
Gratefully,
Mitchel Dumlao