Education

8 Steps to Create a How-To Video

danny-feng-36XZaAuWXcc-unsplash.jpg

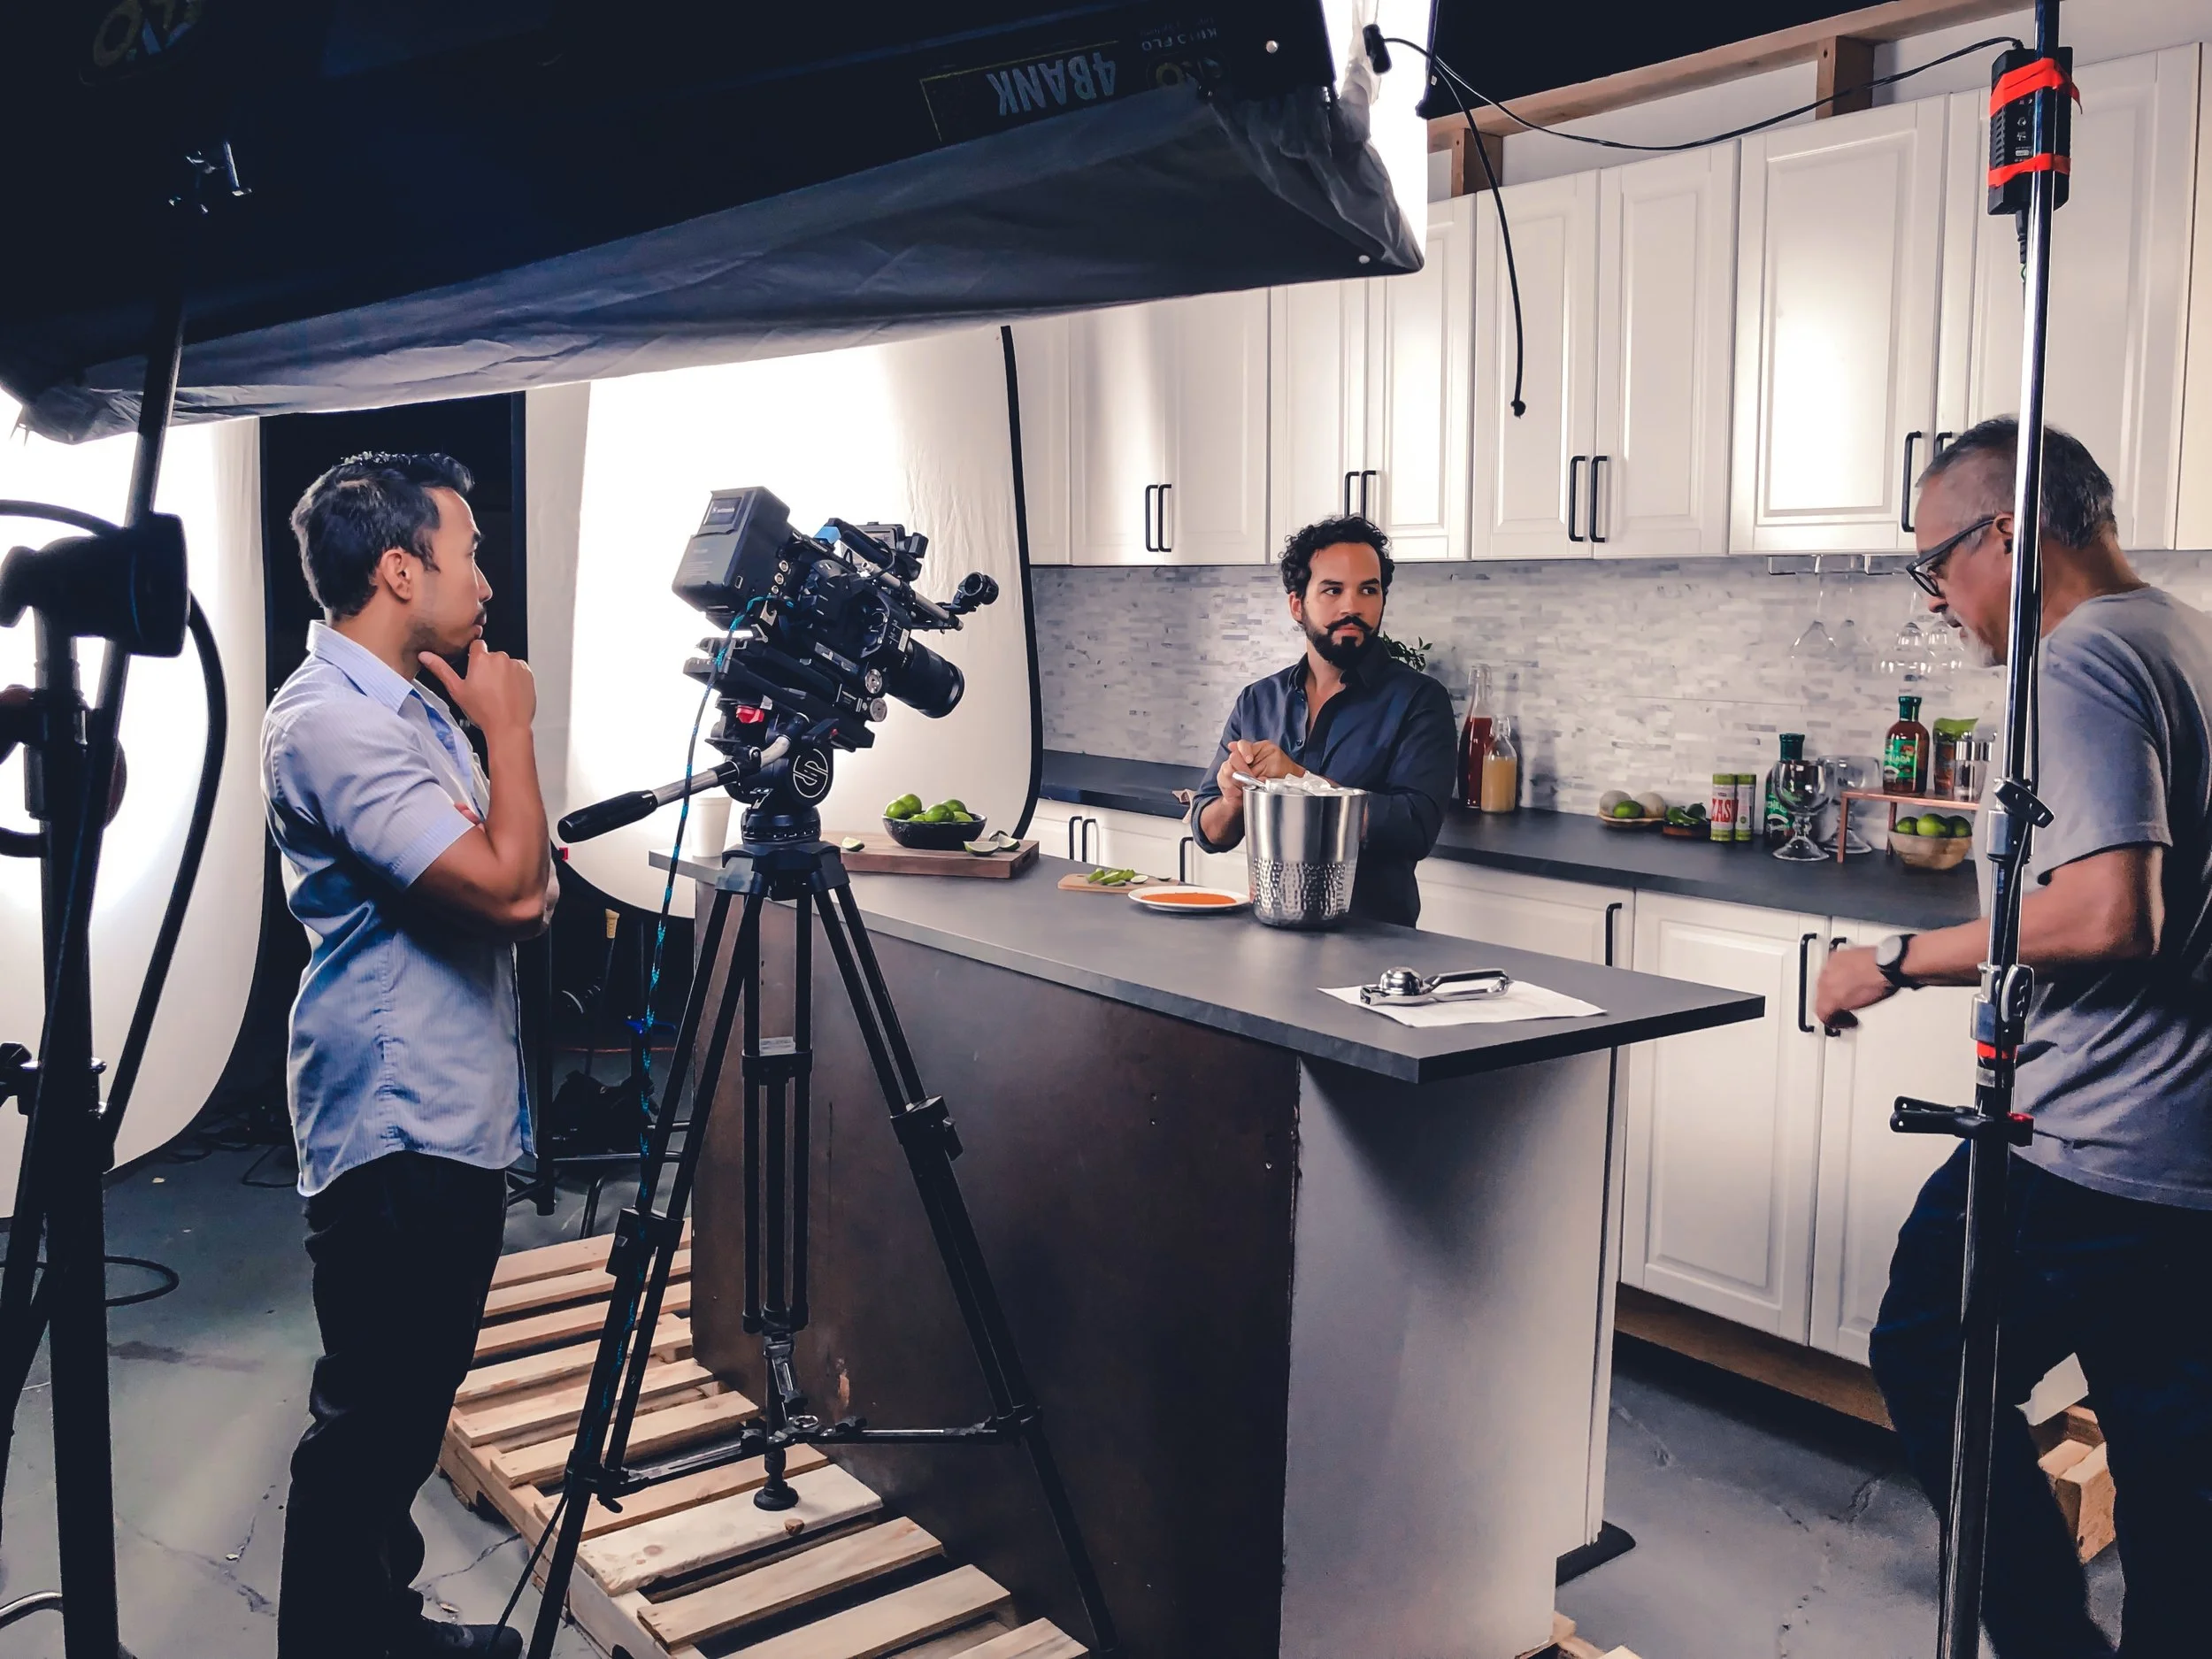
As small business owners and creatives, teaching your audience topics through how-to videos is a great option to keep your audience engaged in your business. Knowing what goes into making a how-to video can make you feel prepared when making these tutorials. You can also take these tips into making other types of videos! Producing these types of videos comes with a series of steps and tips to ultimately help you convey your message. Some key takeaways are to plan accordingly, make your tutorials short and concise, have good transitions, and have a certain video style that forms the overall mood and topic of the how-to video.

Credit: Written by Ryan McAfee How to Shoot a How-To Video

Steps to Create a Successful Interview Shoot

Getting ready to shoot an interview? As business owners and creatives, interviews are one of the types of video shoots you may create on your video production journey. Shoot your interviews easily with this video on the 7 steps to conduct a smooth interview brought to you by B&H and Chase from Zacuto. This video goes over steps such as choosing your outside environment, lighting conditions, proper audio equipment, spacing and tips on interviewing your interviewee. Each step also offers tips and insights that should help you, especially when shooting different interview topics and lengths. For more details on how to produce professional interviews, watch the following video below!

Credit: Written by Joe Marine 7 Simple Steps to Help You Shoot an Interview

5 Cameras for Beginners to Shoot Video 2019

Can’t decide which camera to buy as a beginner video maker? With so many cameras out on the market, it can be hard to select a camera you’d feel comfortable with. Well worry no more! Our research shows you the pros of five cameras we thought would be helpful for you to make your decision. Check it out here!

Everyone wants to know what's the best camera to buy for video, but it can be daunting with all the options out there.  We’ve got you if you’re just starting out with some of our picks for the best cameras to buy for a beginner: 

Canon Vixia HF R800

Pros:

  • Inexpensive 

  • Small and lightweight

Nikon D3500

Pros:

  • Low cost for DSLR

  • High quality

Canon EOS Rebel SL3 / 250 D

Pros:

  • 4K video

  • Effective Autofocus

Fujifilm X-T3

Pros:

  • 4K video up to 60FPS

  • Full area autofocus coverage

Nikon Z6

Pros:

  • High quality image

  • Tough body

Recommended Sound Equipment for Budget-Friendly Business Creatives

keagan-henman-e6BkcrbCvzs-unsplash.jpg

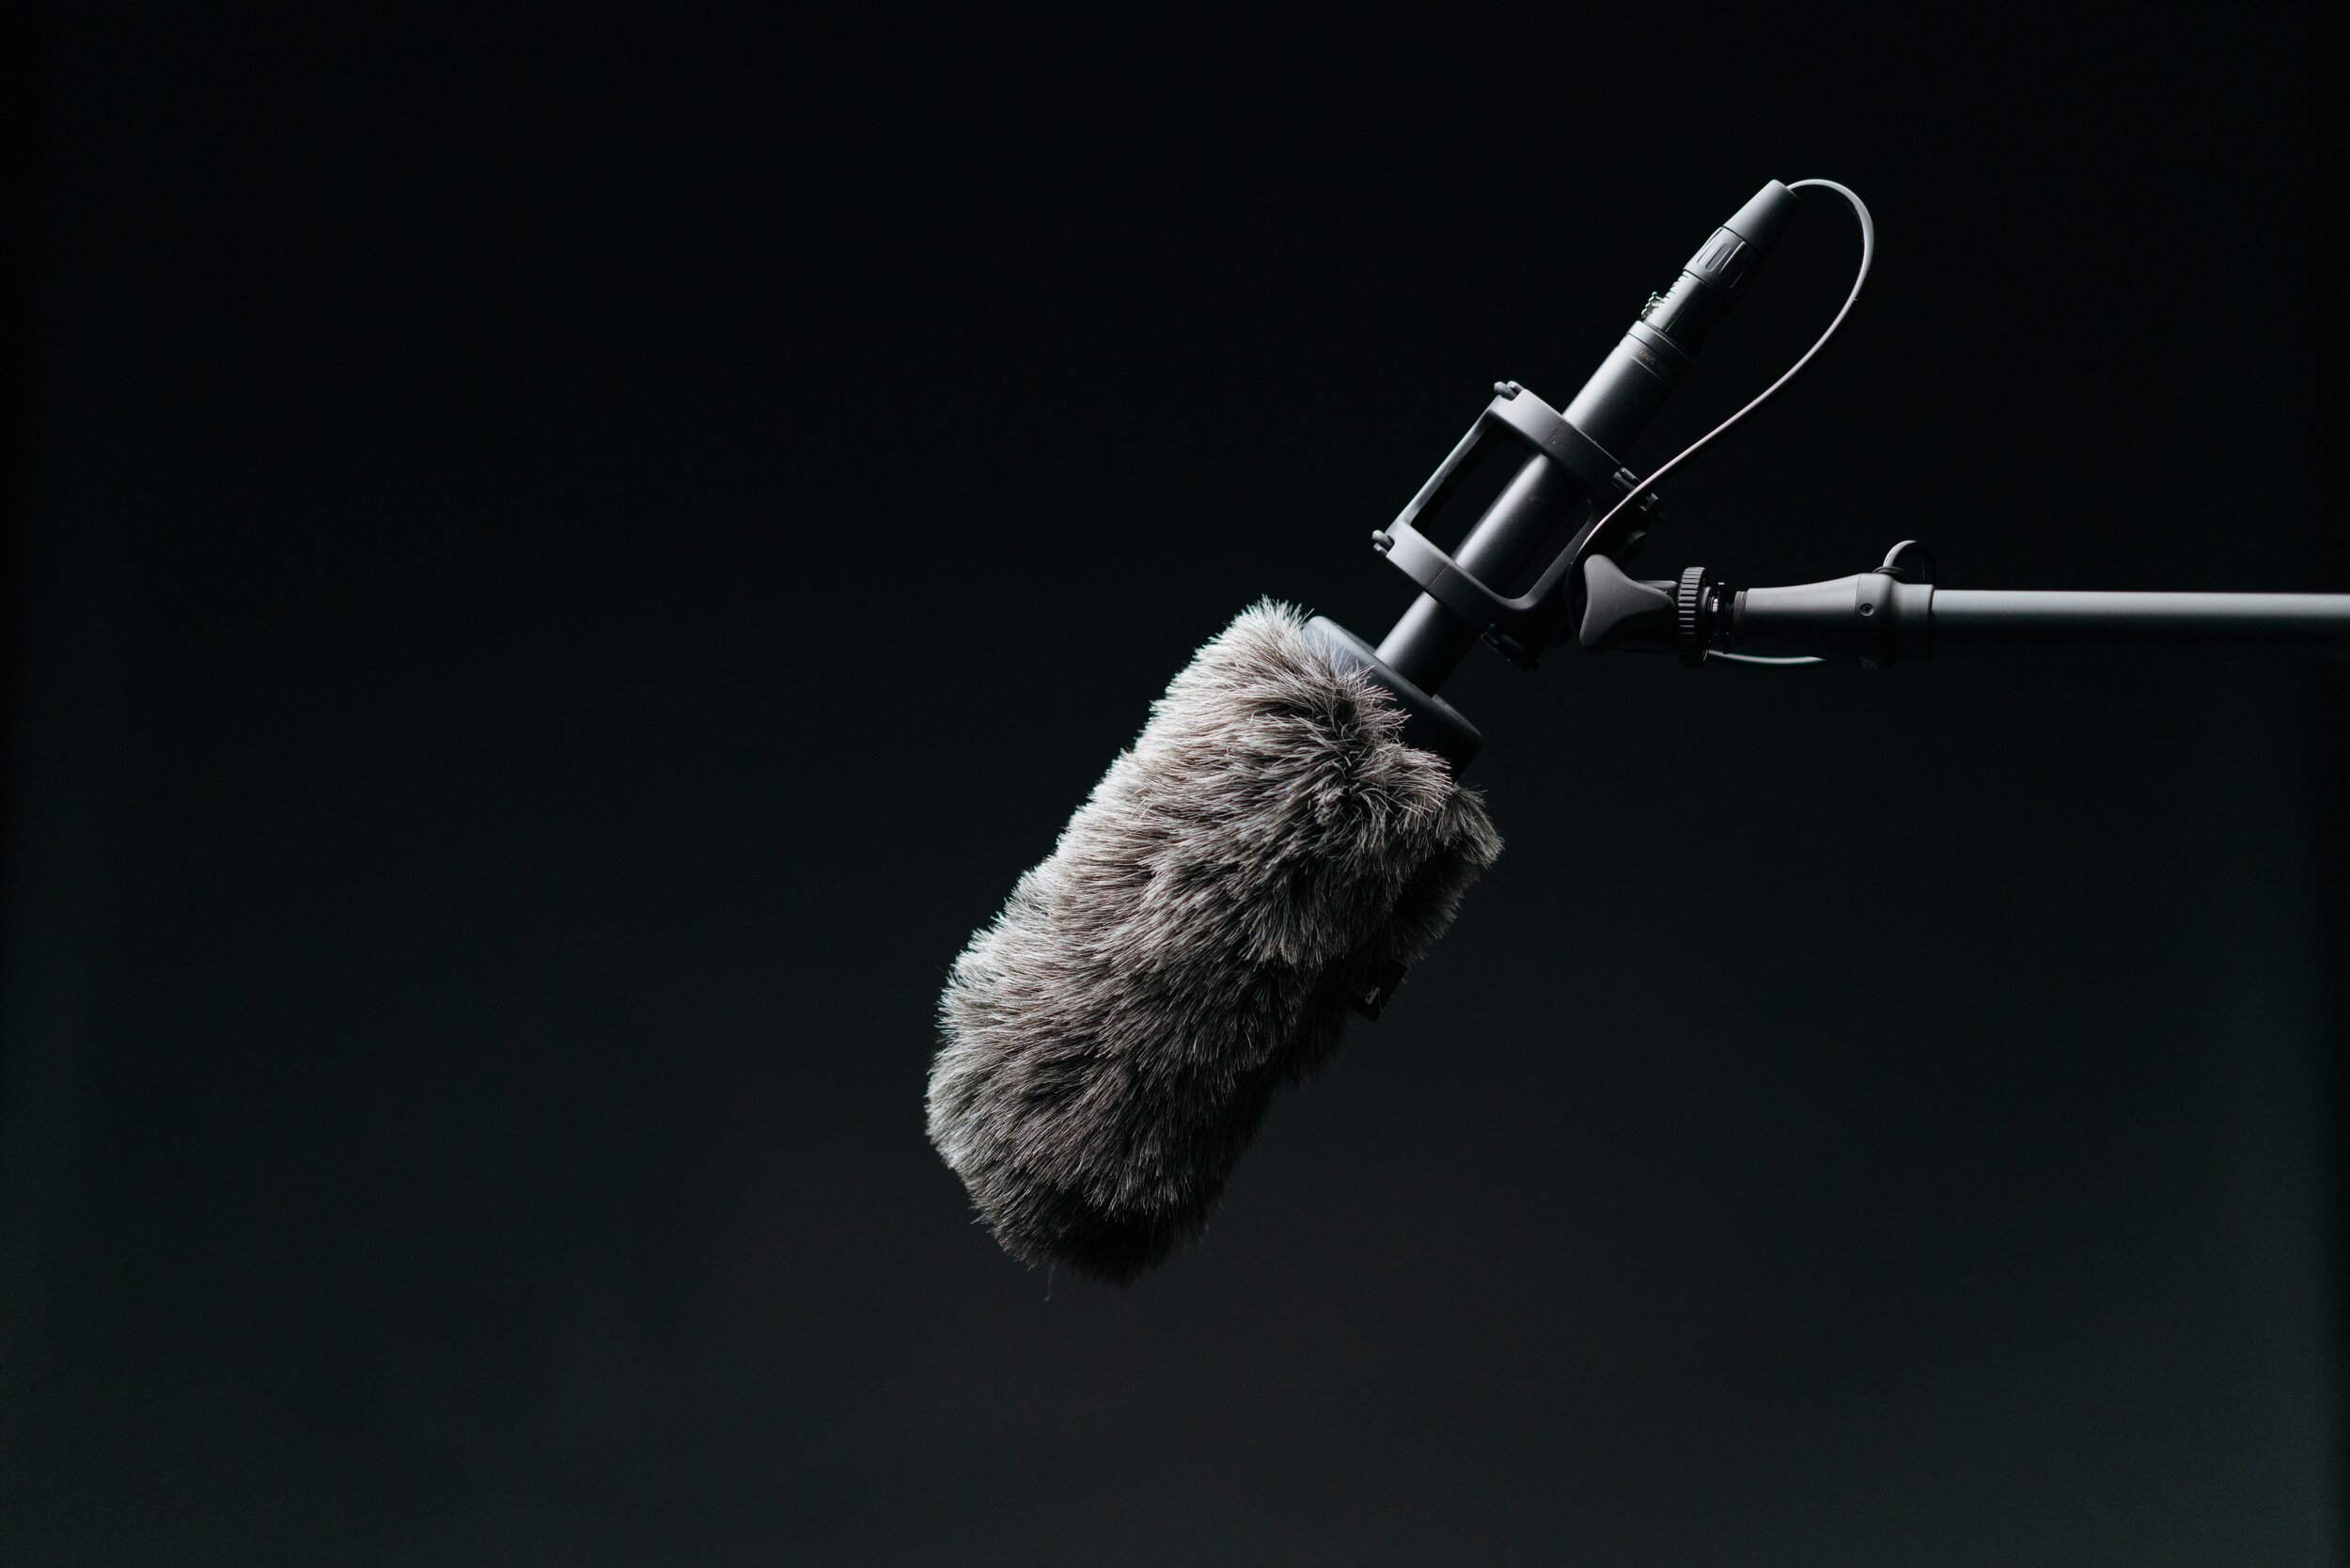
Ever recorded a video and found your microphone picking up sounds you don’t want in your video? Are you wondering how to improve your sound quality and learn which equipment is best for you without breaking your budget? Learn all about the sound equipment categories: types of microphones-directional, wired and wireless, audio recorders, windshields, and headphones. The sound equipment mentioned offers budget-friendly creatives and small business owners the ability to choose and use equipment that records sound needed to produce quality videos. There is a recommended list for each sound equipment category and includes the least expensive option.

Credit: Written by Learn About Film Sound Equipment for Low Budget Filmmaking - Learn about film

10 Types of On-Camera Video Lights

insung-yoon-jTGiEPgXm0o-unsplash.jpg

Imagine setting up your next video only to discover that the lighting is off and any additional lights throw off you or the subject. If this sounds like you then you’ll want to get this essential tool! This compilation of on-camera video lights appeals to aspiring video creators and experienced creatives. The videos you create with the supplementary light give a boost to the production of your video. Each battery-powered video light can be mounted onto other video equipment like drones. This article covers many of the potential situations you could use different types of on-camera video lights for and the extra essentials that are included with the lights.

Credit: Written by Explora user Peter Ward_1 Top 10 On-Camera Video Lights

Key Lighting Equipment to Invest in Your Business

dose-media-Mt-Jw7iA_P0-unsplash.jpg

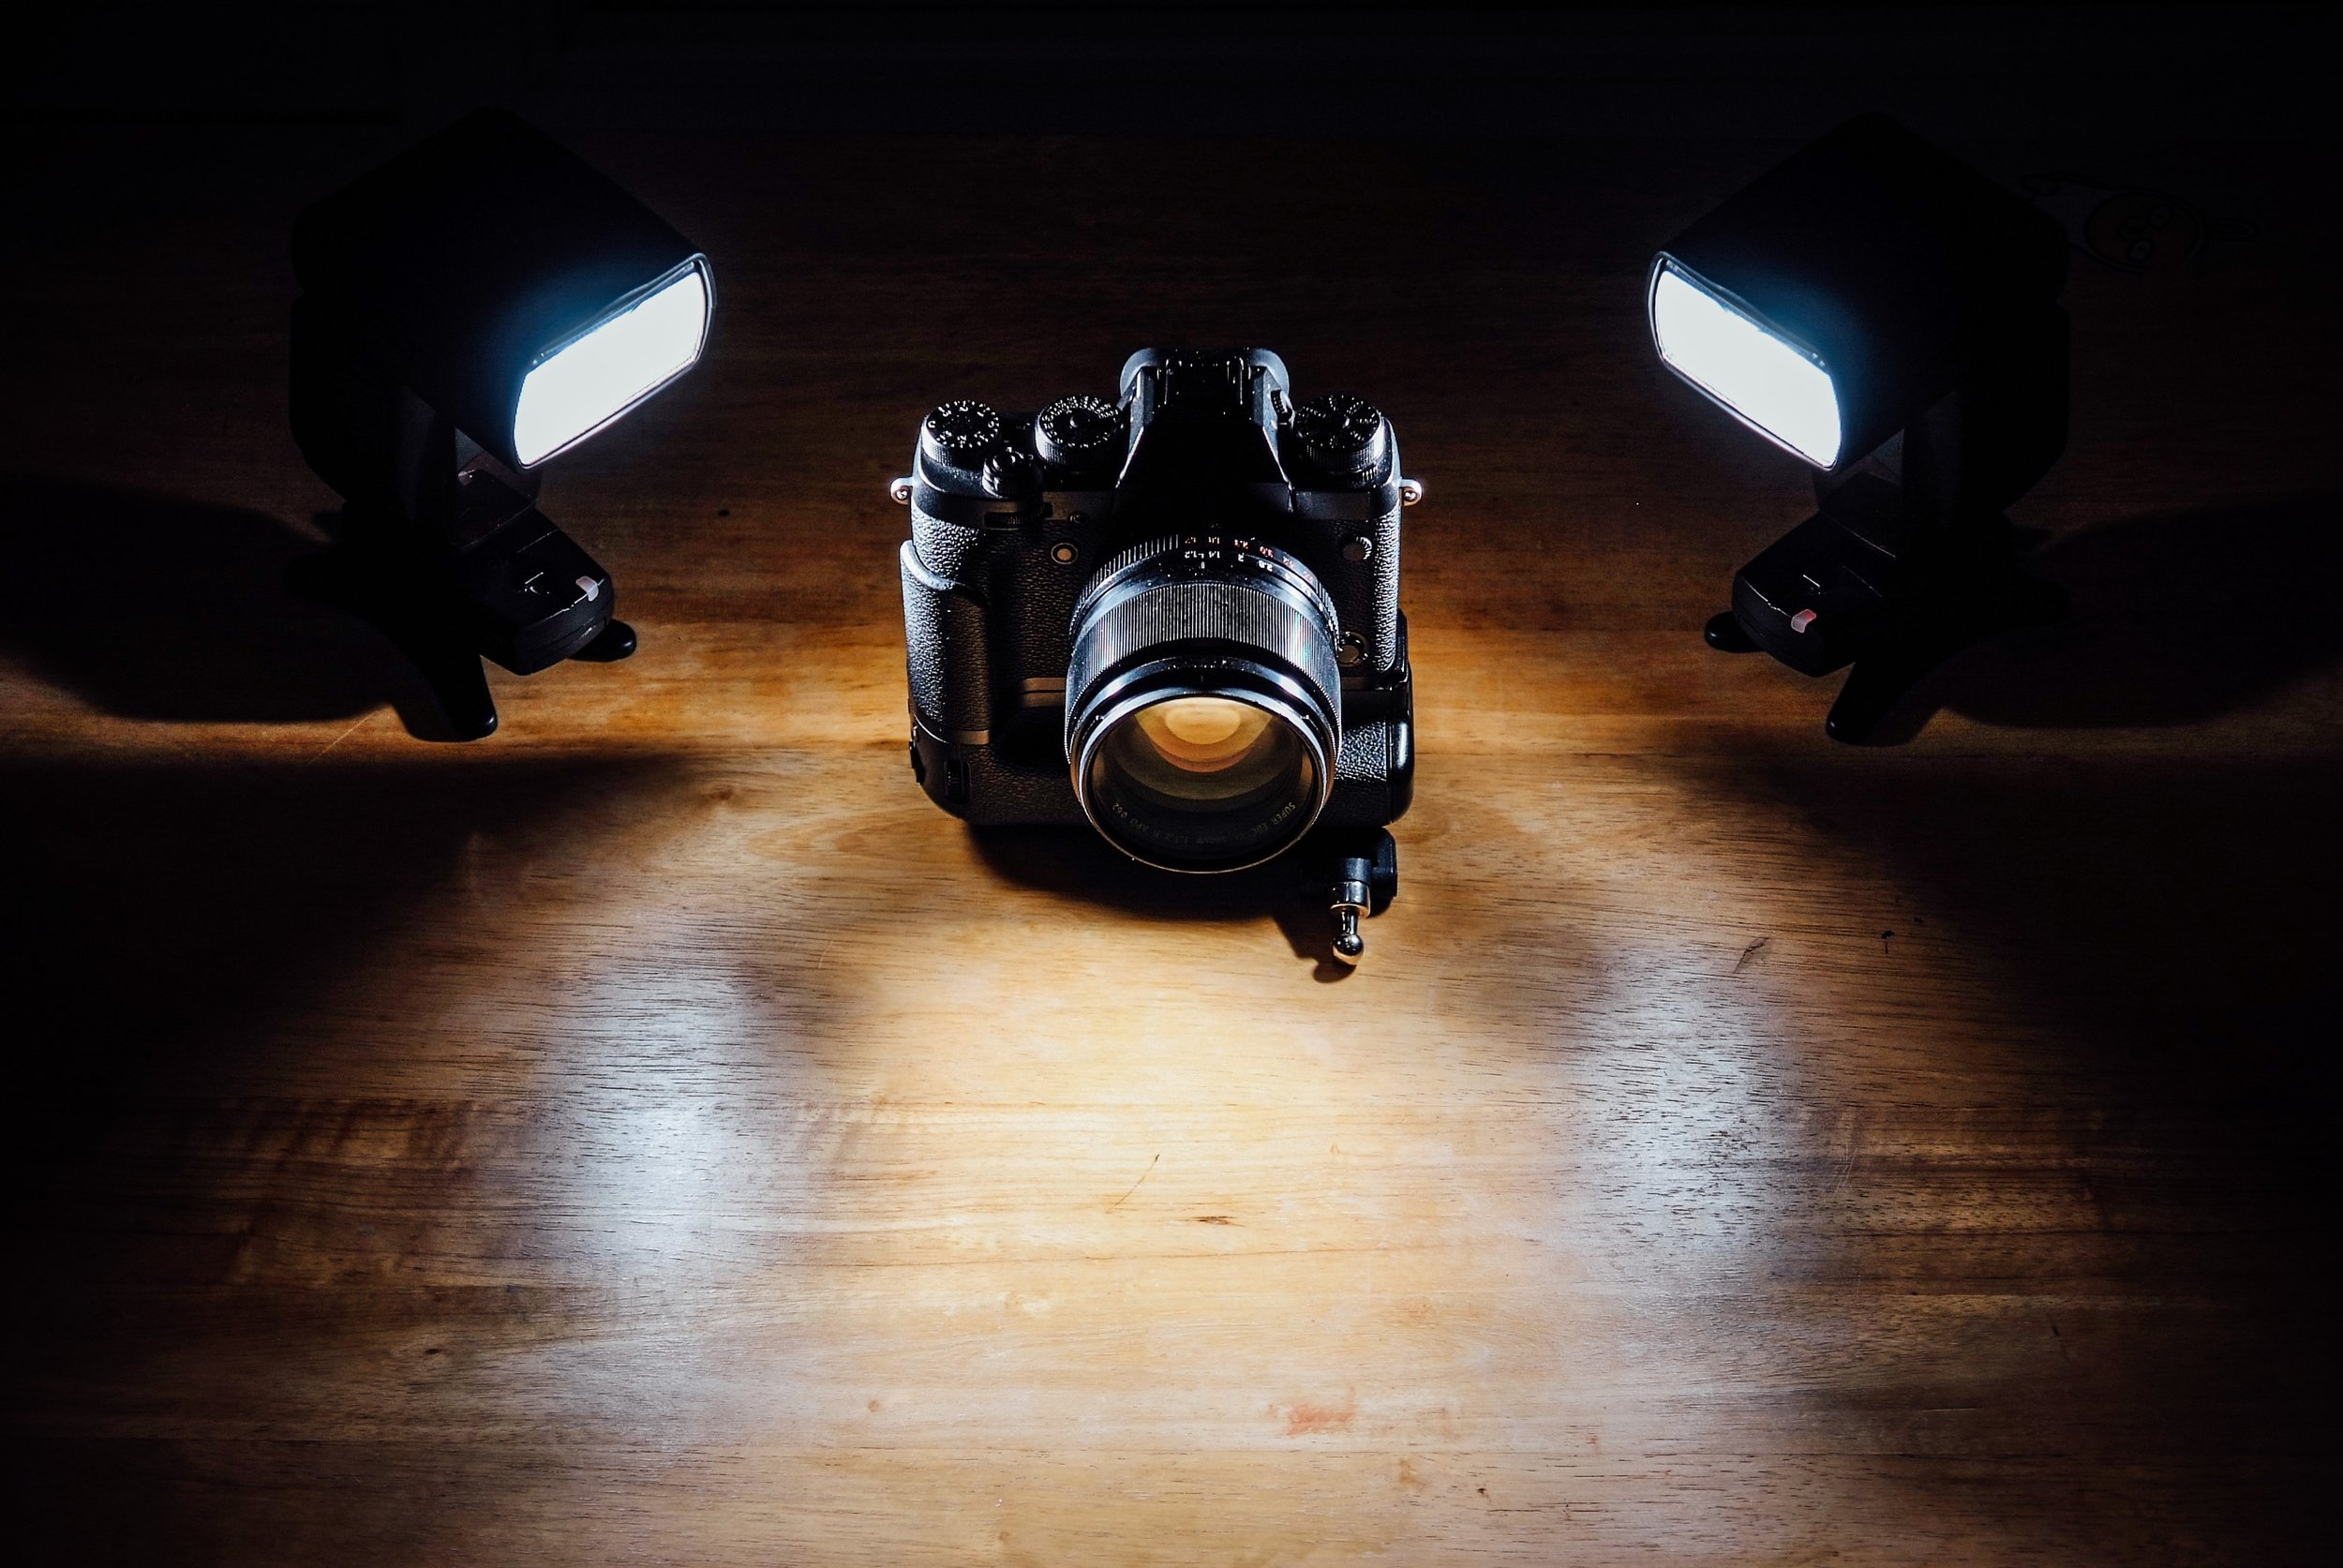
Are you producing videos and taking photos with inconsistent lighting? Having a good source of light is crucial to producing a video for your business. Investing in valuable lighting equipment will help aspiring creators and business owners create the content they desire. The types of lighting equipment discussed in this article will lead you to the kit you need based on how you intend to use the lighting for your videos and photography. The article also mentions the activities and main uses each lightning kit has which can help you make your buying decision easier.

Credit: Written by Pixelz Lighting Equipment 101: Why to Invest and What to Buy

Expert's Guide to Digital Cameras

desola-lanre-ologun-zYgV-NGZtlA-unsplash.jpg

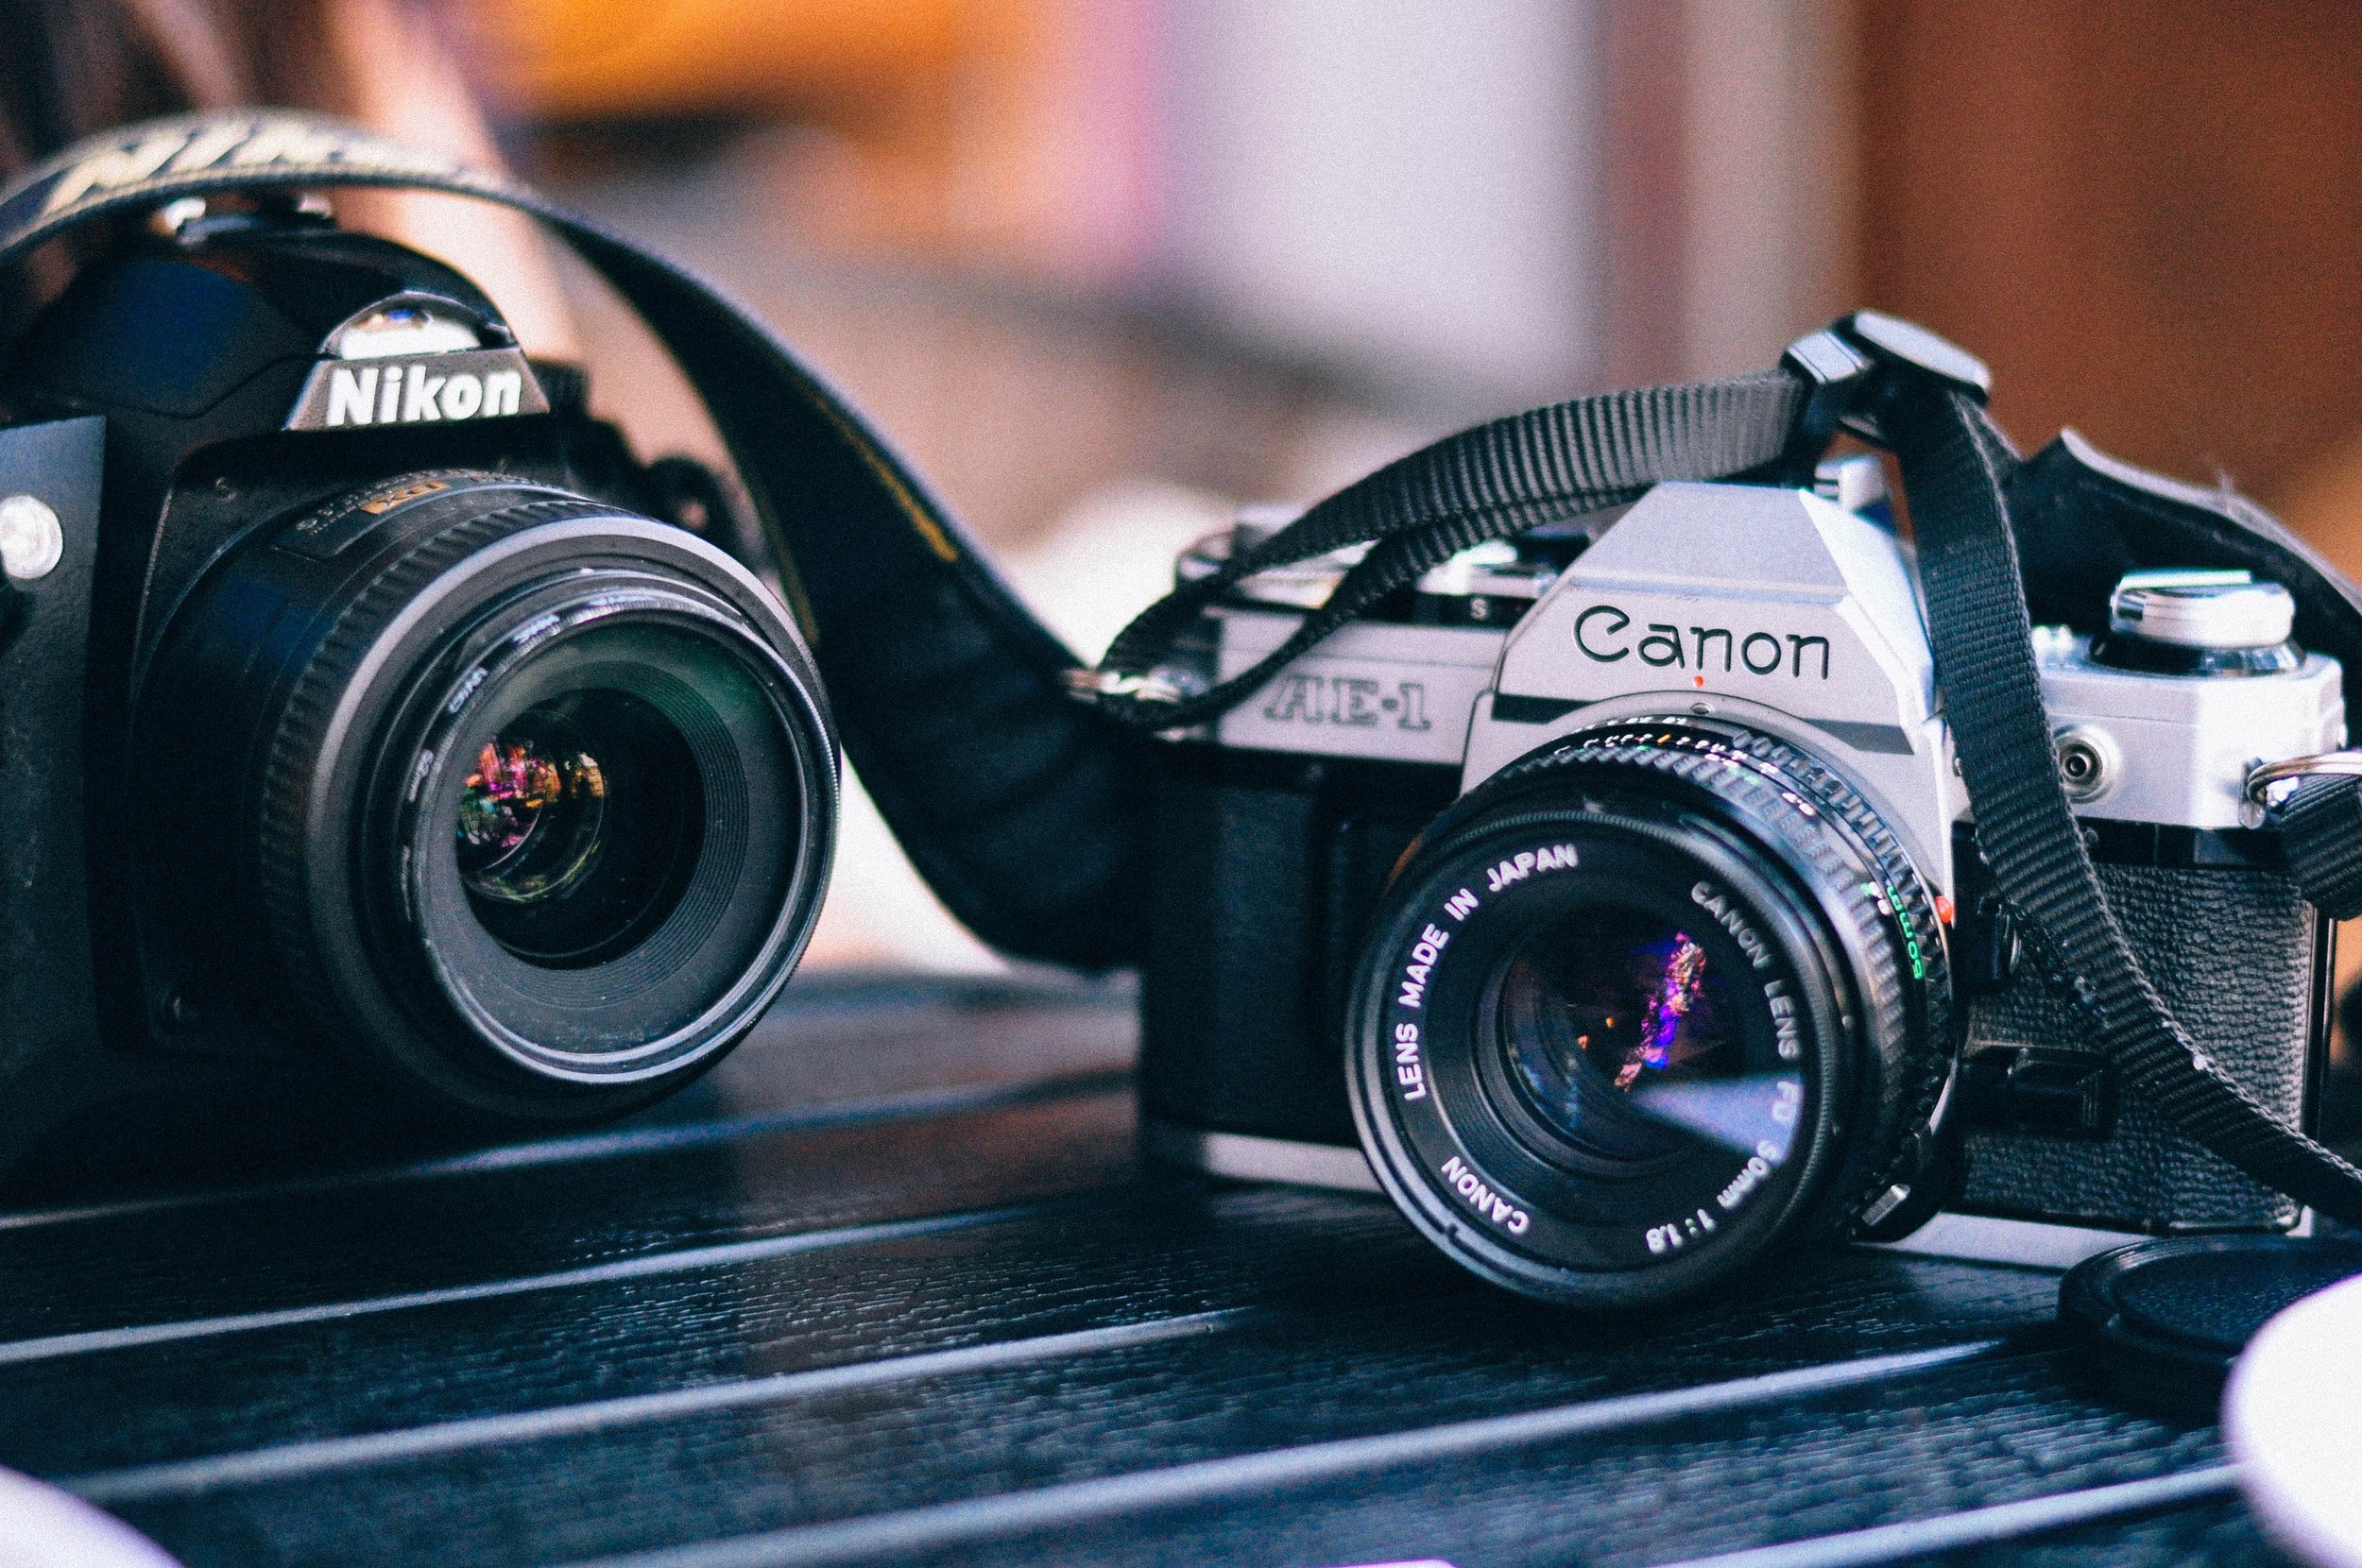
Are you looking for a camera that better suits your needs as a growing artist? Unsure which camera you should use for your business? Curious about the functionality of many digital cameras? Follow this guide as it divides these cameras into categories that address your concerns. Prospective buyers, like you, would find these categories helpful as they use the guide to narrow their selection and find the camera for their business. Each section gives a detailed description of the type of camera, lists pros and cons, and leaves their expert review for their chosen brand of that category. These categorical descriptions also give you an insight and the confidence on what you can do with the product once it’s in your possession!

Credit: Written by Phil Hall and Rod Lawton What Camera Should I Buy? Use Our Step-By-Step Guide

A Student Filmmaker's Guide to Essential Video Equipment

jakob-owens-fkaZiACUb5w-unsplash.jpg

Are you just starting your film career? Are you having difficulty narrowing down your list of options for video equipment? Well, you’re in luck because this article addresses your concerns as a new student filmmaker. The article explains how the equipment and specific brands can assist newcomers with their many projects. The article recommends certain products that have multiple features and other products that if invested in well, can last a long time. These can be very cost-effective for a new filmmaker. Each equipment mentioned in the article is also available for purchase.

Credit: Written by J. Carlos Perez and Shawn C. Steiner Basic Equipment for New Filmmaking Students

An Awesome Guide To Make Videos For Your Business

lilly-rum-oAapTASnOgc-unsplash.jpg

Wondering how to capture your audience in your videos? Want to understand how your videos can succeed in your business? Discover the G.R.E.A.T. video formula from the interviewee Owen Video that helps you deliver information about your services and products. Use these key benefits of video marketing to create quality videos, create a list of potential video topics and establish a relationship with your viewers and customers.

Credit: Written by Michael Stelzner How to Create Videos That Sell

Photography Tutorials for Beginners

rosalind-chang-i2HJKAskJ68-unsplash.jpg

Do you have a business that needs photography for marketing? Or are you an aspiring photographer looking for a place to start? This article is great for you! Essential camera settings and photography terminology are taught at an easy understandable level. The tips and tutorials offered are a great foundation to get practice and start your business in photography or help you take photos for your business for marketing.

Credit: Written By Easy Basic Photography

All About The Cost of Creating Videos

sharegrid-gOb6Yfo4mDM-unsplash.jpg

D. Simone Kovacs, Storyhunter Editor, explains how to lower costs on producing videos for your company. Multiple factors such as quality, duration and crew can determine how much is spent when creating a video.

Credit: Written by D. Simone Kovacs Everything You Need To Know About Video Production Costs

How to light a video interview

woman interview.jpg

I’ve worked with numerous brands and corporate clients on creating videos to promote their products and services, and one of the most common videos we produce are “Founders Videos.” These videos explain the background of the company and its founders through archival footage, animation, day-in-the-life footage, pictures, images, and most importantly, interviews. When shooting these interviews, I’ve found myself in difficult situations and settings where lighting is not ideal. In a library basement, an artist greenroom, a dark night event, to the middle of a busy street, I’ve been through it all! What I’ve learned is that a good interview requires 2 technical elements: sufficient lighting and clear sound (which we’ll talk about in another post). You can shoot on an iPhone or a RED Camera, but if your subject isn’t lit well or can’t be heard, the interview is ruined.

So how do I light a subject correctly? The basic and most effective way is 3-point lighting.

3 point lighting.jpg

3-Point Lighting

For interviews

I learned this in film school and is the most effective way to light a person in any situation. The key light is your main lighting source, in which you would have on at the highest brightness when compared to the other 2 lights. The fill light “fills” in the shadows on the face so the subject doesn’t look like a Mobster Movie Villain and has their face fully visible. This shading of shadow on the face gives your subject more character and depth rather than a flat look. This is of course your preference so feel free to use the fill and key lights differently as a balance between a contrasting look or a flat look.

Interview-Lighting_contrast.jpg

Contrast

More key than fill

Interview-Lighting_flat.jpg

Flat

Key and fill equal

The position and height of the lights are also key (pun intended). It can be placed overhead, pointing down on your subject, at eye level, or from below - each contributes to a specific look and feel. For corporate and basic interviews, the simple way is to have the key and fill light at eye level with the subject and positioned in the V formation like the image above.

What if the lights are too harsh? Use softboxes or diffusion gels, silks, and panels to soften the lights. What I do as an easy and inexpensive option is buy diffusion silk fabric from Amazon, cut out pieces that would fit onto my lights, and clip the pieces of fabric to the barn doors of the lights using clothespins or C-47’s (film terminology). As for lights, there are a lot of options. For an inexpensive setup with versatility, I own a set of Neewer LED Lights with barn doors (crucial for controlling your light source!). I also love Arri Skypanels, KinoFlo Select LED’s, and Litemats but for the sake of budget video production, you can do a lot with the Neewer lights I mentioned, especially if it’s just a one-person interview.

Remember the last important piece to 3-point lighting? Don’t worry, I’m not going to quiz you … but if I did and you passed, you would’ve won a trip to Starbucks with me and a cup of coffee lol :) The backlight is an essential piece to the puzzle because it creates separation between the subject and the background. Why do we want separation from the background? Because we want depth in our shot and the subject to not blend into the background. This is important to me because I feel that the human eye is accustomed to focusing it’s attention on objects that are in the foreground so creating that separation through lighting helps the viewer concentrate on the subject and not the brewery or live band in the background. The backlight also create a “halo” effect around the subject so you can see their outline, and is also called a “hair” light because it emphasizes the shape of the person’s head and hair, giving them a clear outline for the viewer to focus on.

As for the intensity of this light, I like it at 25% with diffusion. This is also your preference and also depends on your subjects’s hair - a bald man’s head can look quite shiny and distracting with a hair light. The position of the light should be out of frame and is usually placed above the subject pointing down, although I’ve backlit subjects with the light pointing up from the floor or from eye level off camera. The reason why is that in some situations, you won’t have the ability to hang a light above the subject and place it directly behind their head, so you have to find a way to light the back of the subject without having the light in the shot. My preference is off camera to the side at eye level at 25% with diffusion. A cool halo effect does happen when you place the light on the floor facing up towards the subject’s back, depends on the kind of look you want.

What if you only had 1 or 2 lights? How about no lighting equipment? I would use the sun or “practical” lights (what’s available on location like room lights or lamps) as the key or fill (depending on the intensity) and your other light as the fill, key, or back light. For example, if I was filming an interview in the day and all I had is one light, I’d use the sun to light my subject as the key light, and my one light as the fill light to illuminate the shadows on their face. A bounce board or reflector is useful in daytime exterior shooting because you can use the sunlight’s reflection to “bounce” back on to your subject’s face to fill in the shadows. If I was at an event and there were overhead lights that fully lit up the room, I’d use my other light as a back light to help separate the subject from the background since the subject would already be lit by the room’s practical lighting. And if you had no lighting equipment, you’re screwed! Not really, just challenged. The best source of light is the sun so you can light people next to windows, in the shade, or under the sun; just remember the position of the sun during the day to anticipate for shadows. At night or inside with no lighting, then you have to find some light source and use your camera’s settings to get the image possible with the lighting you have, more on that in another post.

So there you have it, film school lighting in one post. There are so many other factors that I should mention and all you film school graduates out there are already typing in my comments, but I want to keep this short and simple for people that just want the best possible solution for an affordable price with consumer equipment. If you want to nerd out on lights and lighting, email me! I’d love to share and learn more :)

I hope this was helpful. Remember the brightness ratio of your key and fill lights depending on your shadow and depth preference (I like 100% key, 75% fill, 50% backlight). Your backlight separates your subject from the background to help your viewer focus their attention. Diffusion is very helpful in creating beauty lighting and soft features. Use bounce boards and reflectors when working with the sun. And of course, experiment and practice! I’m not an master, just an artist that loves making videos :) Email me if you have any questions, thanks for reading!

Gratefully,
Mitchel Dumlao