Education

7 Basic Shot Sizes in Filmography

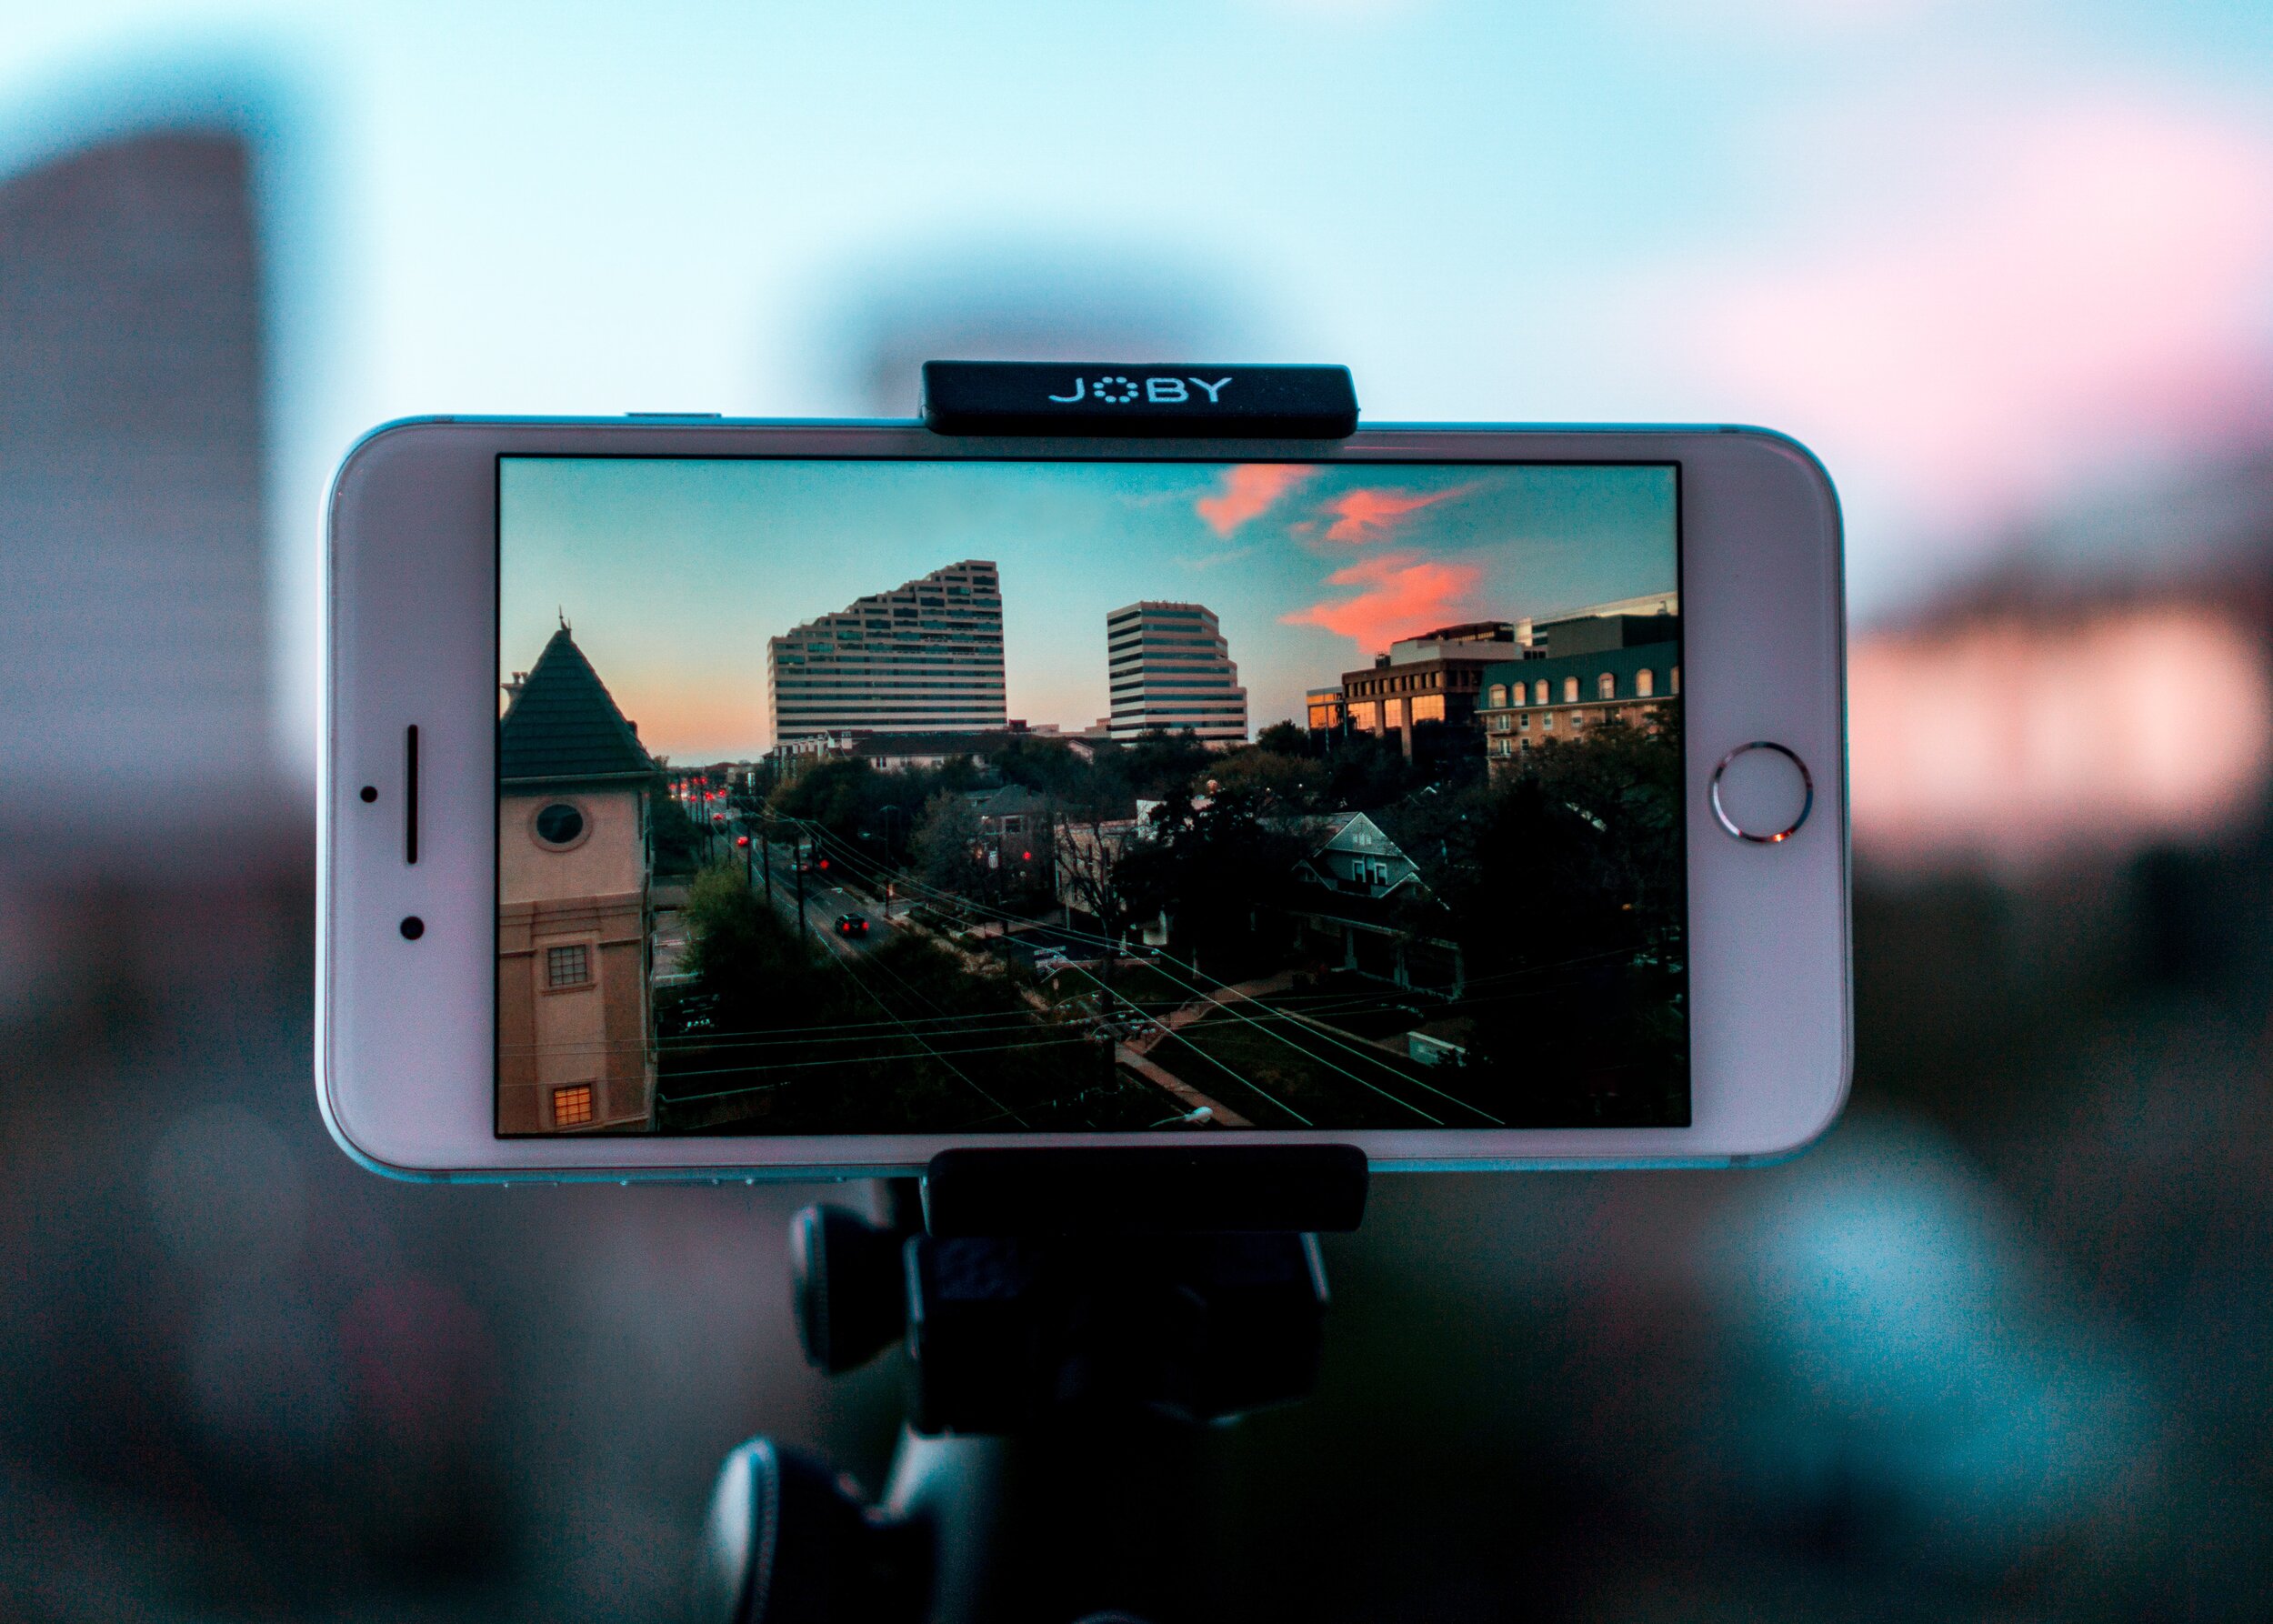
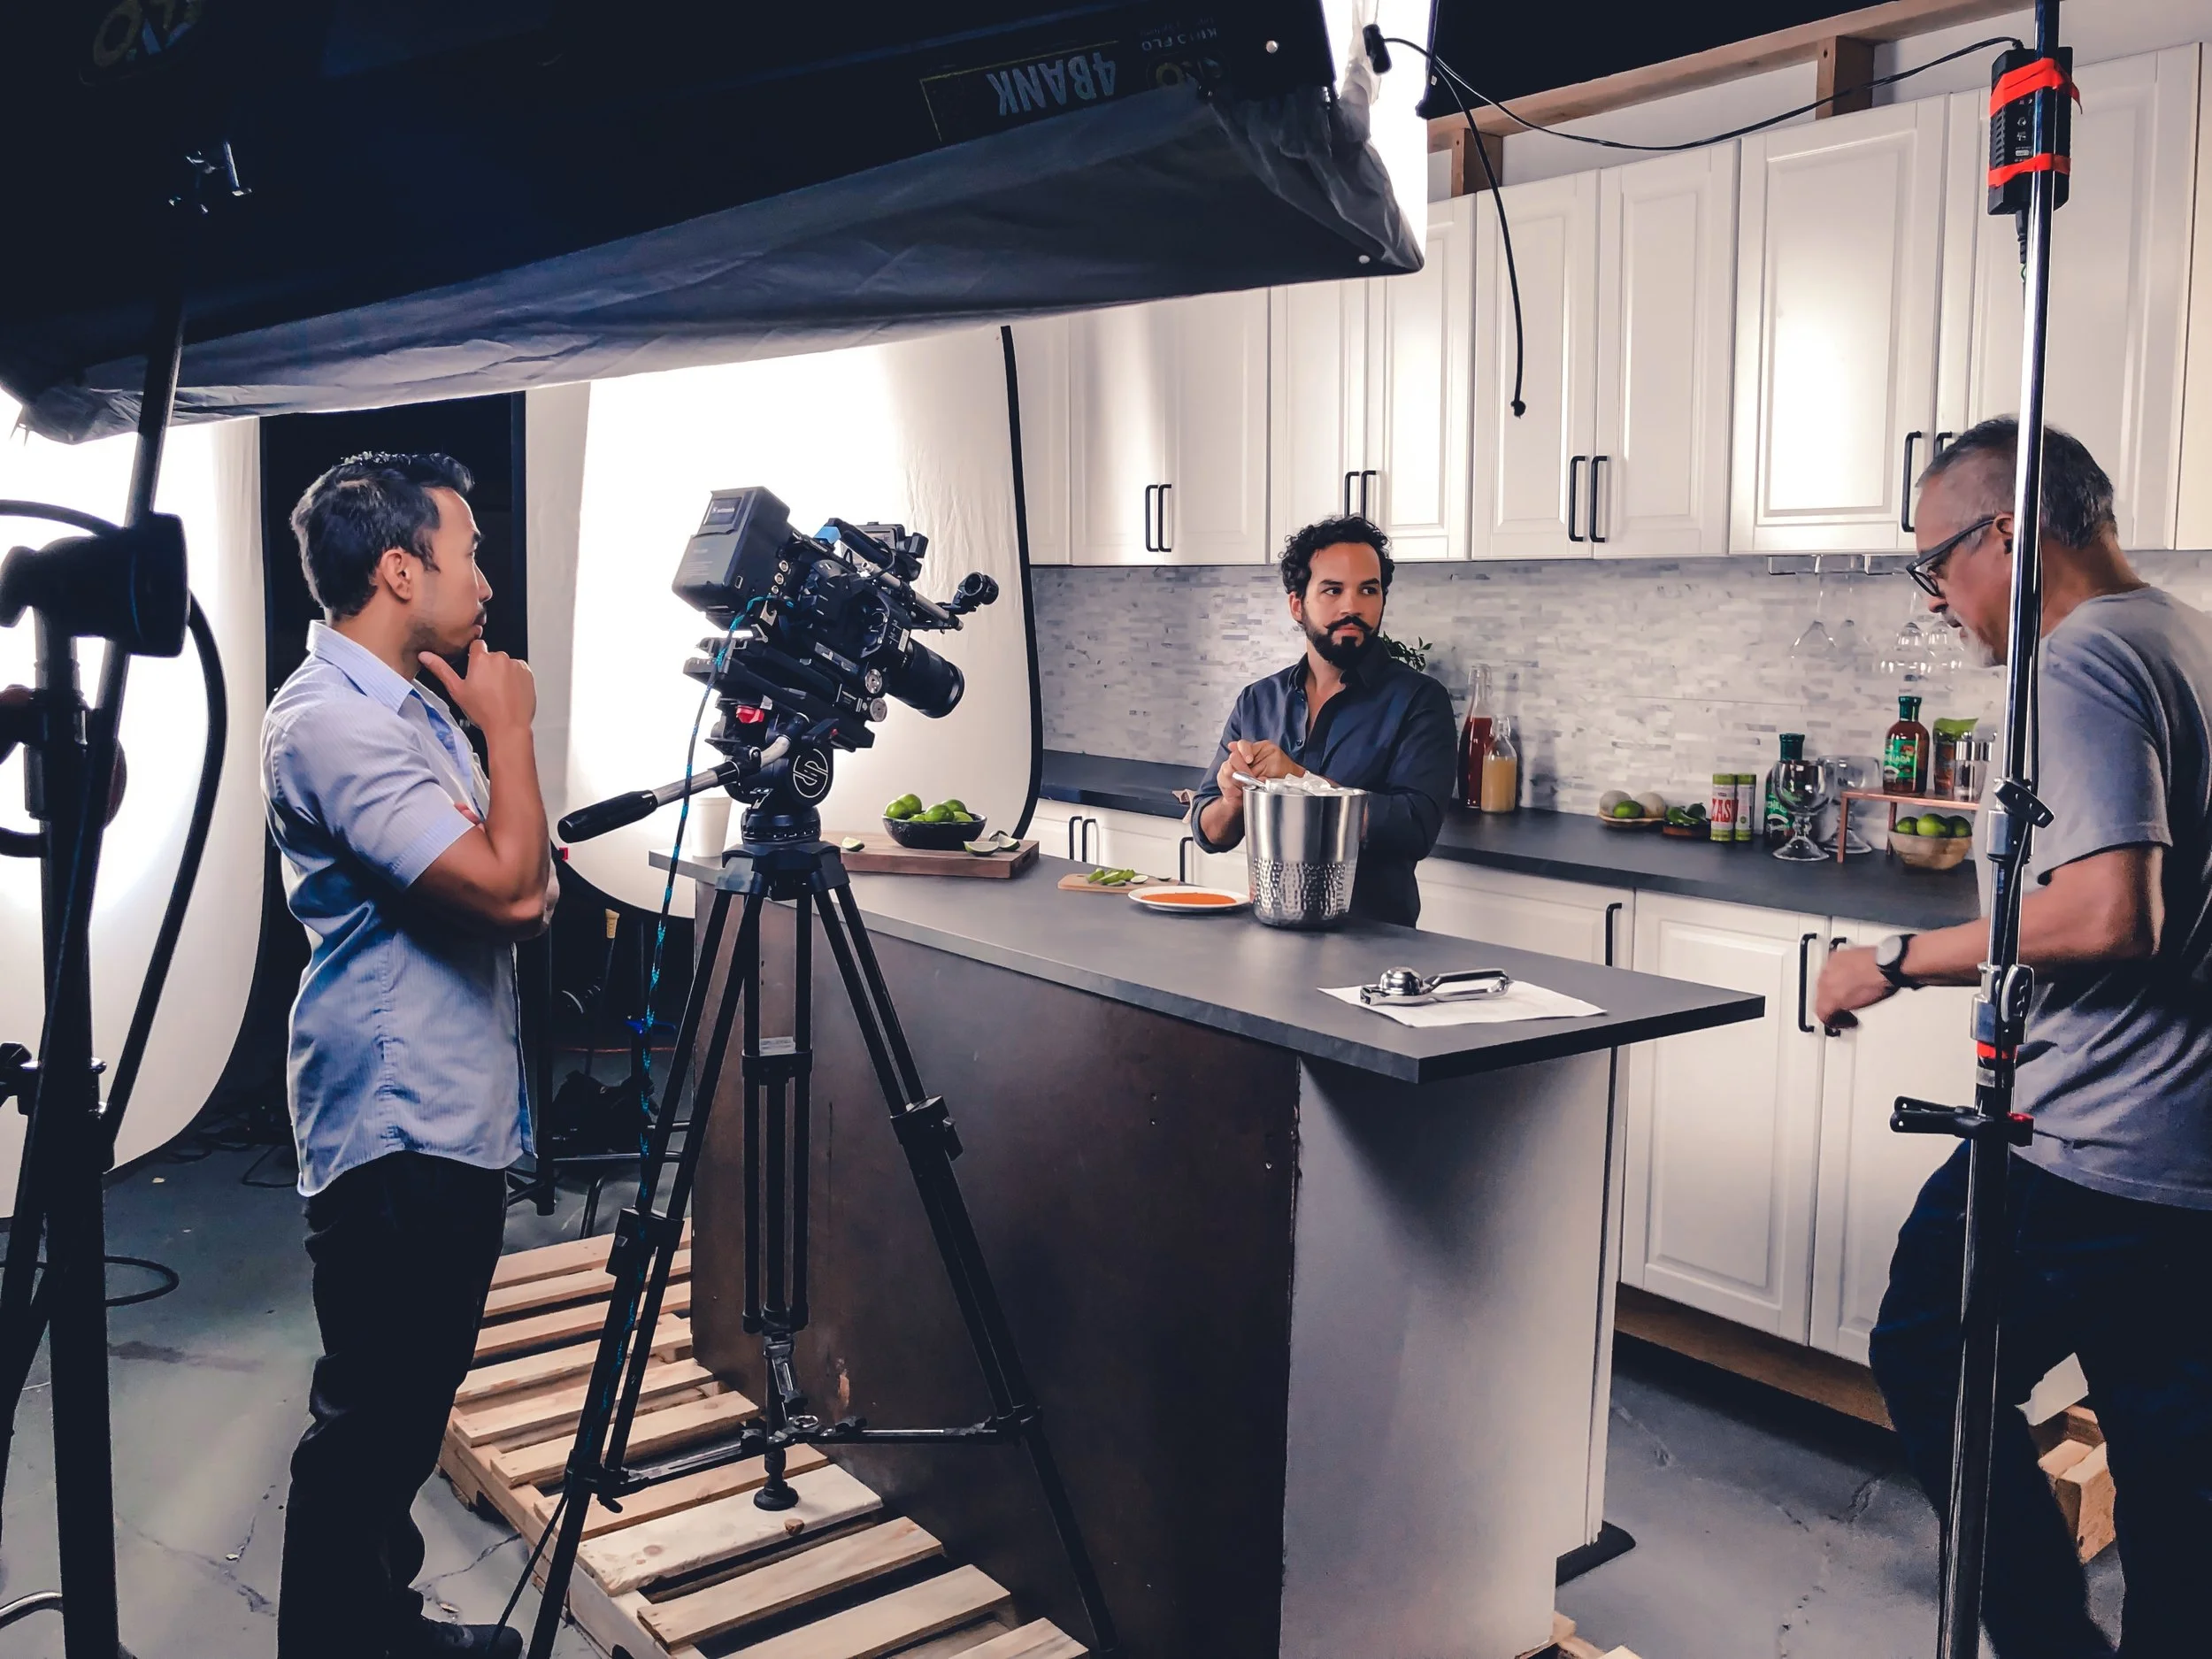
What do you think about when you watch close-up shots? Is it the emotion the character is feeling? What about wide shots? Are you providing context to your scene? It is important to use any of these 7 basic shot sizes in your film as they can come up in the beginning, middle, or end of your scene. Invoke the same powerful message through different shots by using our list and examples from famous films.

Framing is a lot of effort. It can be hard to decide exactly how much you want in any given frame, and we're here to help you by explaining the 7 basic shot sizes, what they show, and their purposes.

Extreme Long Shot (ELS): Extreme long shots are often used as the first shot of a scene to establish the setting the scene will take place in. The characters may not be shown at all in ELS’s, and even if they are, the focus is overwhelmingly placed on the environment.

Long Shot (LS): Also known as a wide shot, the long shot shows the characters in full from head to toe, allowing for extensive body movement. A large part of the focus is still placed on the environment, but more is now placed on the characters.

Medium Long Shot (MLS): Medium long shots show the characters from approximately knees and up, still showing most of the body, which allows for some body movement.

Medium Shot (MS): Showing characters from around the waist and up, the medium shot now places focus primarily on the characters. Body movement is more restrictive, but as the shot is closer to the subject, facial expressions are more prominent. Very little focus is placed on the environment.

Medium Closeup (MCU): The medium closeup is now almost entirely focused on the subject’s face, showing only the shoulders and potentially parts of the torso aside from the face. Body movement, aside from the shoulders, is extremely limited as nearly all the focus is on the face.

Closeup (CU): The closeup is focused entirely on the subject’s face and nothing else, making body movement nonexistent.


Extreme Closeup (ECU): In an extreme closeup, only a certain aspect of the face, often the eyes, has focus. The ECU can also be used to focus on a specific object in a scene.

Using Creativity To Distinguish Humans From Robotics and AI, While Utilizing Technology To Enhance our Artistic Expression

Our next podcast guest talks about the effect technology has on creativity and how technology has led to more creative innovations. Alec Ross is a New York Times best-selling author, technology policy expert and was a Senior Advisor for Innovation to Hillary Clinton during her term as Secretary of State. Throughout the episode, we discuss the possibilities advanced technologies can have to stimulate creativity in the future, evolving innovations such as AI, and how being physically active is a factor in creativity. Check out episode 10 on Creative Haven on iTunes here: Using Creativity To Distinguish Humans From Robotics and AI, While Utilizing Technology To Enhance our Artistic Expression.

How Relationships Create Value- Yoshino Podcast Clip

Listen to this relevant clip from episode 7 of our podcast! Yoshino offers his advice on how to create real value to strengthen relationships. He also shares how creating a transactional value for others can be a bad part of living in a capitalistic society and consumerism. For the full episode, go to iTunes under Creative Haven here: How to Be a Pure Artist By Letting Go of Your Ego and Detaching from Capitalism

Recommended LinkedIn Image Sizes List

the-creative-exchange--T6CrnPs0LM-unsplash.jpg

Want a professional-looking LinkedIn company page? Take a look at your company images! If they are not updated properly with LinkedIn’s guidelines, they may fall short in your page’s appeal. It is important to convey your brand and company appropriately through images that are sized well on multiple devices. LinkedIn has a helpful chart to let you know what their specifications are on company photos, cover, logo, and main images. You can post images less than the recommended size; however, the photos you upload on the company photos section may appear smaller if they are at the minimum size guidelines. For example, the minimum image size for a cover image on a page is 1192x220 pixels, but LinkedIn recommends 1536x768 pixels. For cover photos, you may need to trim the image to fit the screen. The platform suggests uploading a high-quality image using formats of PNG or JPEG. You can also replace the static image on the main/image section with a video link from Vimeo or YouTube. Once you adjust your photo settings, your customers and followers will be able to recognize who your company is amongst the competition!

Credit: LinkedIn Help Image Specifications for your LinkedIn Pages and Career Pages

5 Basic Camera Movements in Film

Gearing up for shooting a scene and don’t know which camera movement is right for your production? Experimenting with a shot and are looking to approach it from another angle? Positioning and moving your camera can let your audience know more about your scene. We’ve generated a list of the five basic camera movements you can experiment with in your films!

Cinematography becomes more complicated as you go from static to dynamic shots. We're here to help you understand the terminology and functions of the 5 basic camera moves in filmmaking.

#1 - Pan. The pan movement, short for panorama, is a horizontal camera move where the camera is stationary, but the direction it faces moves left or right. Pans are usually made through the use of a tripod, but can also be made through other methods, such as handheld.

#2 - Tilt. The tilt movement is similar to the pan, but is a vertical move, where the direction the camera faces moves up and down. Similar to the pan, tilts are usually created on a tripod, but can be created through the use of handheld. 

#3 - Tracking / Trucking. Tracking shots, also known as trucking shots, are created when the camera is physically moved left or right, often to follow a subject. These shots may be created through the use of dollies, steadicams and other equipment.

#4 - Dolly. Dolly shots are created when the camera is physically moved forwards or backwards. They created a similar effect to zooming, as they change how big or little a subject is in the frame. As the name suggests, dolly shots may be created through the use of an actual dolly, but may also be created with steadicams, gimbals, and other equipment.

#5 - Pedestal. Pedestal shots, likely the least used on this list, are shots where the camera is physically moved up and down. They could be created through the use of adjustable tripods, monopods, or cranes. 

Optimizing Your Creative Flow State And Productivity With Meditation, Journaling, and Getting Out Of Your Comfort Zone

Hey everyone, here’s our next podcast episode with John Lee Dumas! John Lee Dumas is the host and founder of the award-winning podcast EOFire. In the episode, he encourages entrepreneurs and creatives to get out of their comfort zone by exploring different mediums to find sources of inspiration as well as relieving creative blocks. He also mentions how committing to certain activities that make you happy and relax you, such as reading, meditating, or journaling can spark fresh creative ideas and increase productivity within your work. Listen to the episode 9 on iTunes under Creative Haven here: Optimizing Your Creative Flow State And Productivity With Meditation, Journaling, and Getting Out Of Your Comfort Zone

Epic Sci-Fi Movie Timeline of Star Trek Into Darkness

Epic Sci-Fi Movie Timeline of Star Trek Into Darkness by Avid Media Composer 🎥

Watch the timeline here!

Being Inspired to Achieve Your Dreams-Leo Black Podcast Clip

This next clip from episode 4 of our podcast will be sure to make you feel supported in whatever stage of the creative journey you’re in! Leo Black shares how there isn’t any failure as long as you keep learning from your mistakes and use that motivation to feel inspired to fulfill your dreams. Listen to the full episode on iTunes under Creative Haven: How To Become a Successful Artist Through Consistency and Utilizing Digital Platforms

The 180 Degree Rule

Are your films lacking consistency within your scenes? Have you heard of using the 180 degree rule? Positioning your camera and subjects within the shot of a semi-circle, will allow your scene to flow better and your audience to understand the scene. Our video describes the rule and provides excellent examples from well-known movies so that you can apply the guideline for your future films.

The 180 degree rule is something that brand-new filmmakers don’t take into consideration all the time, and can have radical effects on continuity. If you’ve ever watched a movie that broke the rule, you may not have noticed it. But if it was pointed out to you, it would be impossible to miss, and can be quite jarring. 

So what exactly is the 180 degree rule? Simply put, the rule states that all of your shots in a particular scene must exist in a 180 degree area around the subjects. You could imagine it as a semi circle. The first shot in a scene establishes the rough “side” that the rest of the shots must be in.

For example, let’s say you are filming two people having a conversation. The first shot takes place from one of the sides, making it so Person A is facing to the left, and person B is facing to the right. If you film using the 180 degree rule correctly, the placement will be consistent. But, if you suddenly shoot from the opposite side, now Person A is facing to the right, B to the left. This will be disorienting to the audience, as it seems like the subjects are in different places.

Like many filmmaking rules, the 180 degree rule does not have to be followed absolutely 100 percent of the time. There are exceptions. One exception is if you as the filmmaker want to confuse the audience, and so break the rule to do so. Another is if an event happens, and so the rule must be broken to capture that event. The last is if you have a moving shot that moves past the 180 degree area in real time.

Find Out YouTube's Video Resolution and Aspect Ratio Sizes

thomas-russell-DmAKxLH0nhg-unsplash.jpg

Are you wondering how your video will display on YouTube using a different aspect ratio? YouTube is where millions go to get their daily source of entertainment. If you’re a business owner or an aspiring creative and you’re uploading YouTube videos, you’ll need to know the recommended formats and aspect ratios for the platform. If you are uploading on a computer, the standard aspect ratio size is 16:9. If your video has a different aspect ratio display, YouTube will change the video to the standard size. The video player also automatically adjusts to meet the size of your video. For vertical videos, who have an aspect ratio of 9:16, YouTube adds white or dark grey borders to fill the screen. On mobile devices, portrait videos are displayed without black bars to fill the screen on mobile devices. Viewers can press the full-screen button to view the full vertical video. YouTube also features a list of recommended video resolutions, for the 16:9 aspect ratio, so that your videos can be shown at optimal viewing quality!

Credit: Written by YouTube Help YouTube Resolution & Aspect Ratios

Being Your True Self To Stand Out From The Crowd While Consistently Learning & Practicing To Find Flow State

Check out the interview we did with Woody’s Produce! Woody is a music producer, artist, video creator, and founder and CEO of the creative agency, Super Tight. In this episode, we chat about prioritizing your skills to improve them, the ability to find your creative flow state at any time, and not worrying about getting your ideas stolen when they are public because someone can make their own version. We also talk about how the ultimate goal for artists is to find out who you are. Listen to episode 13 here on iTunes under Creative Haven! Being Your True Self To Stand Out From The Crowd While Consistently Learning & Practicing To Find Flow State

Finding Your Unique Gifts-Joe Stolte Clip

Let your creativity flow while listening to this clip from our podcast with Joe Stolte! In this clip, Joe discusses the feeling of finding something you love to do and pursuing those unique gifts to create success in your life. Inspired to hear more? The full episode is on iTunes under Creative Haven here: Unlocking Your Purpose, Focusing On Your Unique Gifts, Changing Mindsets for Success, and Using Hip Hop Skills To Succeed In Business !

Exposure Trifecta Guide- Aperture, ISO, & Shutter Speed

Don’t shoot anything with your camera just yet! Are your camera settings set up accurately? How your videos and photos look, depends greatly on how you set up your camera. You don’t want your photos to turn out grainy or spend hours messing with the settings. Adjusting your ISO, aperture, and shutter speed and knowing what they do can give you the control for your shoot. These three important settings are what you need to know about and we’ve got the instructional video for you.

Before shooting on a camera, there are 3 basic settings that are imperative to set up: that being the ISO, aperture, and shutter speed. These all have dramatic effects on various aspects of videography.

ISO controls the brightness of the image. If you have a lower ISO, it means that your camera’s sensor is less sensitive to light, and so it will be darker. As your ISO goes up, the image will get brighter, but there will also be more visual noise that makes the image unappealing. You generally shouldn’t set your ISO to anything higher than 800, as that’s when the noise gets noticeable.

Shutter speed is how long the camera’s shutter takes to open and close. So if you’re shutter speed is at 60 or 1/60, it means the shutter will take 1/60th of a second to open and close. As a general rule of thumb when shooting video, set your shutter speed at double what your frame rate is. So if you’re shooting at 24FPS, set the shutter speed at around 50 (1/50) and if you’re shooting at 30FPS, set it at 60 (1/60) and so on.

Aperture, also known as F-Stop or iris, is how open or how closed your camera’s iris is. The way F-Stop values work is this: the lower your F-Stop is, the more open the iris is. The higher the F-Stop, the more closed the iris is. When the F-Stop value is low, meaning the camera’s iris is open, the image will appear brighter but will also have a more shallow depth of field. This means things in the foreground are clear but the background is blurry. On the other hand, when the F-Stop value is higher, the iris will be more closed, producing a darker image with a deeper depth of field, meaning everything will be in focus.

So to recap: keep the ISO no higher than 800 and your shutter speed double the frame rate you’re shooting at. Then for the aperture, determine whether you want a darker or lighter image and if you want a blurry background or not, and set it accordingly.

Learn How to Upload High-Quality Photos on Facebook

neil-thomas-SmFBUCgcTn0-unsplash.jpg

You want the best of the best for your photos, especially when they are posted on social media. When you post on a platform like Facebook, where over a million users view content daily, you want your pictures to stand out with the highest quality. This supportive article by Facebook Help Center offers some assistance to get your photos looking spic and span! Facebook automatically resizes and formats your photos when you upload, but to help reach high-quality photos, this is what you can do on your end. Facebook recommends resizing your regular photos to 720px, 960px or 2048px wide and cover photos to 851px by 315px and a file size less than 100KB to avoid compression. After you resize the supported sizes, save as a JPEG with an sRGB color profile. You can also upload photos in HD by default by changing your settings. The Facebook Help Center offers more helpful tips and suggestions to make sure your photos and videos are uploaded in high quality no matter what device you use to upload!

Credit: Written by Facebook Help Center How can I make sure that my photos display in the highest possible quality on Facebook?

Unlocking Your Purpose, Focusing On Your Unique Gifts, Changing Mindsets for Success, and Using Hip Hop Skills To Succeed In Business

Listen to our next podcast interview with Joe Stolte! Joe is an entrepreneur, dancer, and business coach who has his own coaching business and founded and sold many successful companies. As a former famous break-dancing crew member of the Massive Monkees, he uses what he learned as a b-boy to succeed in entrepreneurship and business. In the interview, he also talks about finding your purpose, focusing on your unique gifts to create success, and how changing your mindset into a positive one can set you up for success. Go to iTunes under Creative Haven here: Unlocking Your Purpose, Focusing On Your Unique Gifts, Changing Mindsets for Success, and Using Hip Hop Skills To Succeed In Business.

How to Succeed in Following Your Dreams-Zach Benson Podcast Clip

Ready to hear more inspiring stories from our podcast? Listen to Zach Benson as he shares a bit about how he was able to start and grow his business. Listen to the full episode on iTunes under Creative Haven here: How His Passion for Dance Helped Him Create a 6-Figure Business and Now Works With Today's Top Influencers and Entrepreneurs

Lesser-Known Video Production Costs

As a filmmaker, knowing what expenses you may incur along your production process; can financially prepare you for any emergencies you may have. Overlooking these costs can affect your cast, crew, and your overall production. Do you know that these costs have just the same amount of importance as costs directly related to your video production? If you didn’t know, we have a list of the 6 lesser-known video production costs you should be aware of.

Just about everyone knows that video production is expensive. Of course, there is a huge range, from Hollywood movies with hundreds of millions of dollars to indie films with just several thousand or even hundred dollars. But no matter what it is, a high-quality production’s expenses will add up fast. For brand new filmmakers, it can be overwhelming when unexpected expenses grind their production to a screeching halt. We’re here to help you learn some of those lesser-known video production costs.

1. Food Costs. It may seem simple that people need to eat, but food costs for the cast and crew are very often overlooked. Especially for shoots that may take all day and be physically demanding, the cost of food can take up a substantial part of a production’s budget. People should get breaks to eat every few hours so everyone is able to work to their full potential. 

2. Transportation. Transportation may be almost a non-factor for a skeleton crew with little equipment. But if you have a fair amount of people and equipment, transportation will not just take up time, but money as well. You may even have to get rental vehicles or trailers to transport equipment from set to set.

3. Post-Production. If you edit your production yourself, post costs will be virtually non-existent. But if you don’t edit it yourself, you’ll need to hire an editor. If you want special effects, you’ll need to hire someone for that. You may also have to hire other people that specialize in areas such as audio editing and colour grading. 

4. Re-Shoots. Sometimes in the process of post-production, you find a continuity error, or don’t like how a line was delivered, or something along those lines. If that happens, you may decide you want to re-shoot a shot, multiple shots, or even whole scenes. This means hiring the cast and crew needed for the re-shoot, as well as acquiring the necessary shooting location and equipment.

5. Marketing. Of course you want people to see your production after it’s finally completed. But if you aren’t well known, or even if you are, you’ll have to make sure people know about your production. This will require marketing it. For smaller indie films, marketing consists largely of word-of-mouth marketing, but for Hollywood movies, marketing costs often match that of the actual production costs. 


6. Copyright. While it’s not exactly the most fun part of production, establishing a copyright for you film is crucial to protect it from people stealing it and using it for their own profit. Perhaps the most infamous example of a movie without copyright is Night of the Living Dead. George Romero’s classic zombie flick didn’t hold a copyright for decades, and so showed up in countless other movies. It’s very important to make sure the same doesn’t happen to your production.