Education

Here's Your Guide for Uploading Videos on Twitter

sara-kurfess-8Klz66m11hU-unsplash.jpg

Are you a small business owner or a rising creative looking to share your videos and content on Twitter? Well, Twitter is here to help with this article that details four ways to post videos on its platform! Those four ways are to record/share, import, upload, or go live. You can record, edit, and share videos through the Twitter app. You can record a video by tapping on the camera icon on the app and by tapping the Tweet or Add button when you're ready to post and share it. If you already have a video created, then tap the Tweet and camera icons to select your video, and trim it to your desired length. Keep in mind that the maximum video length is 2 minutes and 20 seconds. If your video is on your computer, click on the Tweet button, open your files, write your message, and hit the Tweet button. Also, note that uploads from the computer must be in a supported format and must have a file size of 512MB or less. If your video is over the maximum file size, you can trim it to meet the maximum video length. This helpful article offers additional video help such as autoplaying videos, watching live videos, and closed captioning.

Credit: Written by Twitter Help How to share and watch videos on Twitter - Twitter Help Center

Upload Videos to Facebook Easily with These Steps

william-iven-DfMMzzi3rmg-unsplash.jpg

Are you excited to share the videos you took to your friends and customers but need help posting them on Facebook? You can post videos directly on Facebook by uploading them through your computer or on your phone using the Facebook app! If you’d like to post videos using the computer, the first step is to click on “Add Photo/ Video” in the share box on the home page or timeline. Then you can choose the video from your files. After the video is uploaded, you can add a description, thumbnail, privacy settings, or tags before posting. Open or install the Facebook app if your videos are saved on your phone to post from there. You don’t need to transport your video file from your phone to your computer! Using the app, click on the “Photo” option at the top of your News Feed. Then choose your video, view the preview, add a description, location, or tags, and tap the blue pencil icon at the bottom of the preview to post. Please note that processing a video may take a while before it is posted on Facebook. You will be notified when the video is posted.

Credit: Written by Carolyn Abram How to Upload Video to Facebook

Simple Guide to Posting on Instagram

neonbrand-nZJBt4gQlKI-unsplash.jpg

Have you set up your Instagram account? Are you wondering how to post your first photo on the platform? Well, this helpful article shows you all you need to start producing content on Instagram! After logging in, tap on the ‘+’ plus button on the bottom of the phone screen. This will allow you to either take a new photo or upload an existing photo from your photo library. After you’ve uploaded your photo, you can add effects, filters, captions, or a location to the photo before posting. The Instagram Help Center also offers other articles to aid you in your posting journey. Now you're ready to post on Instagram!

Credit: Written by Instagram Help Center How do I post a photo?

Basic Camera Stands in 2019

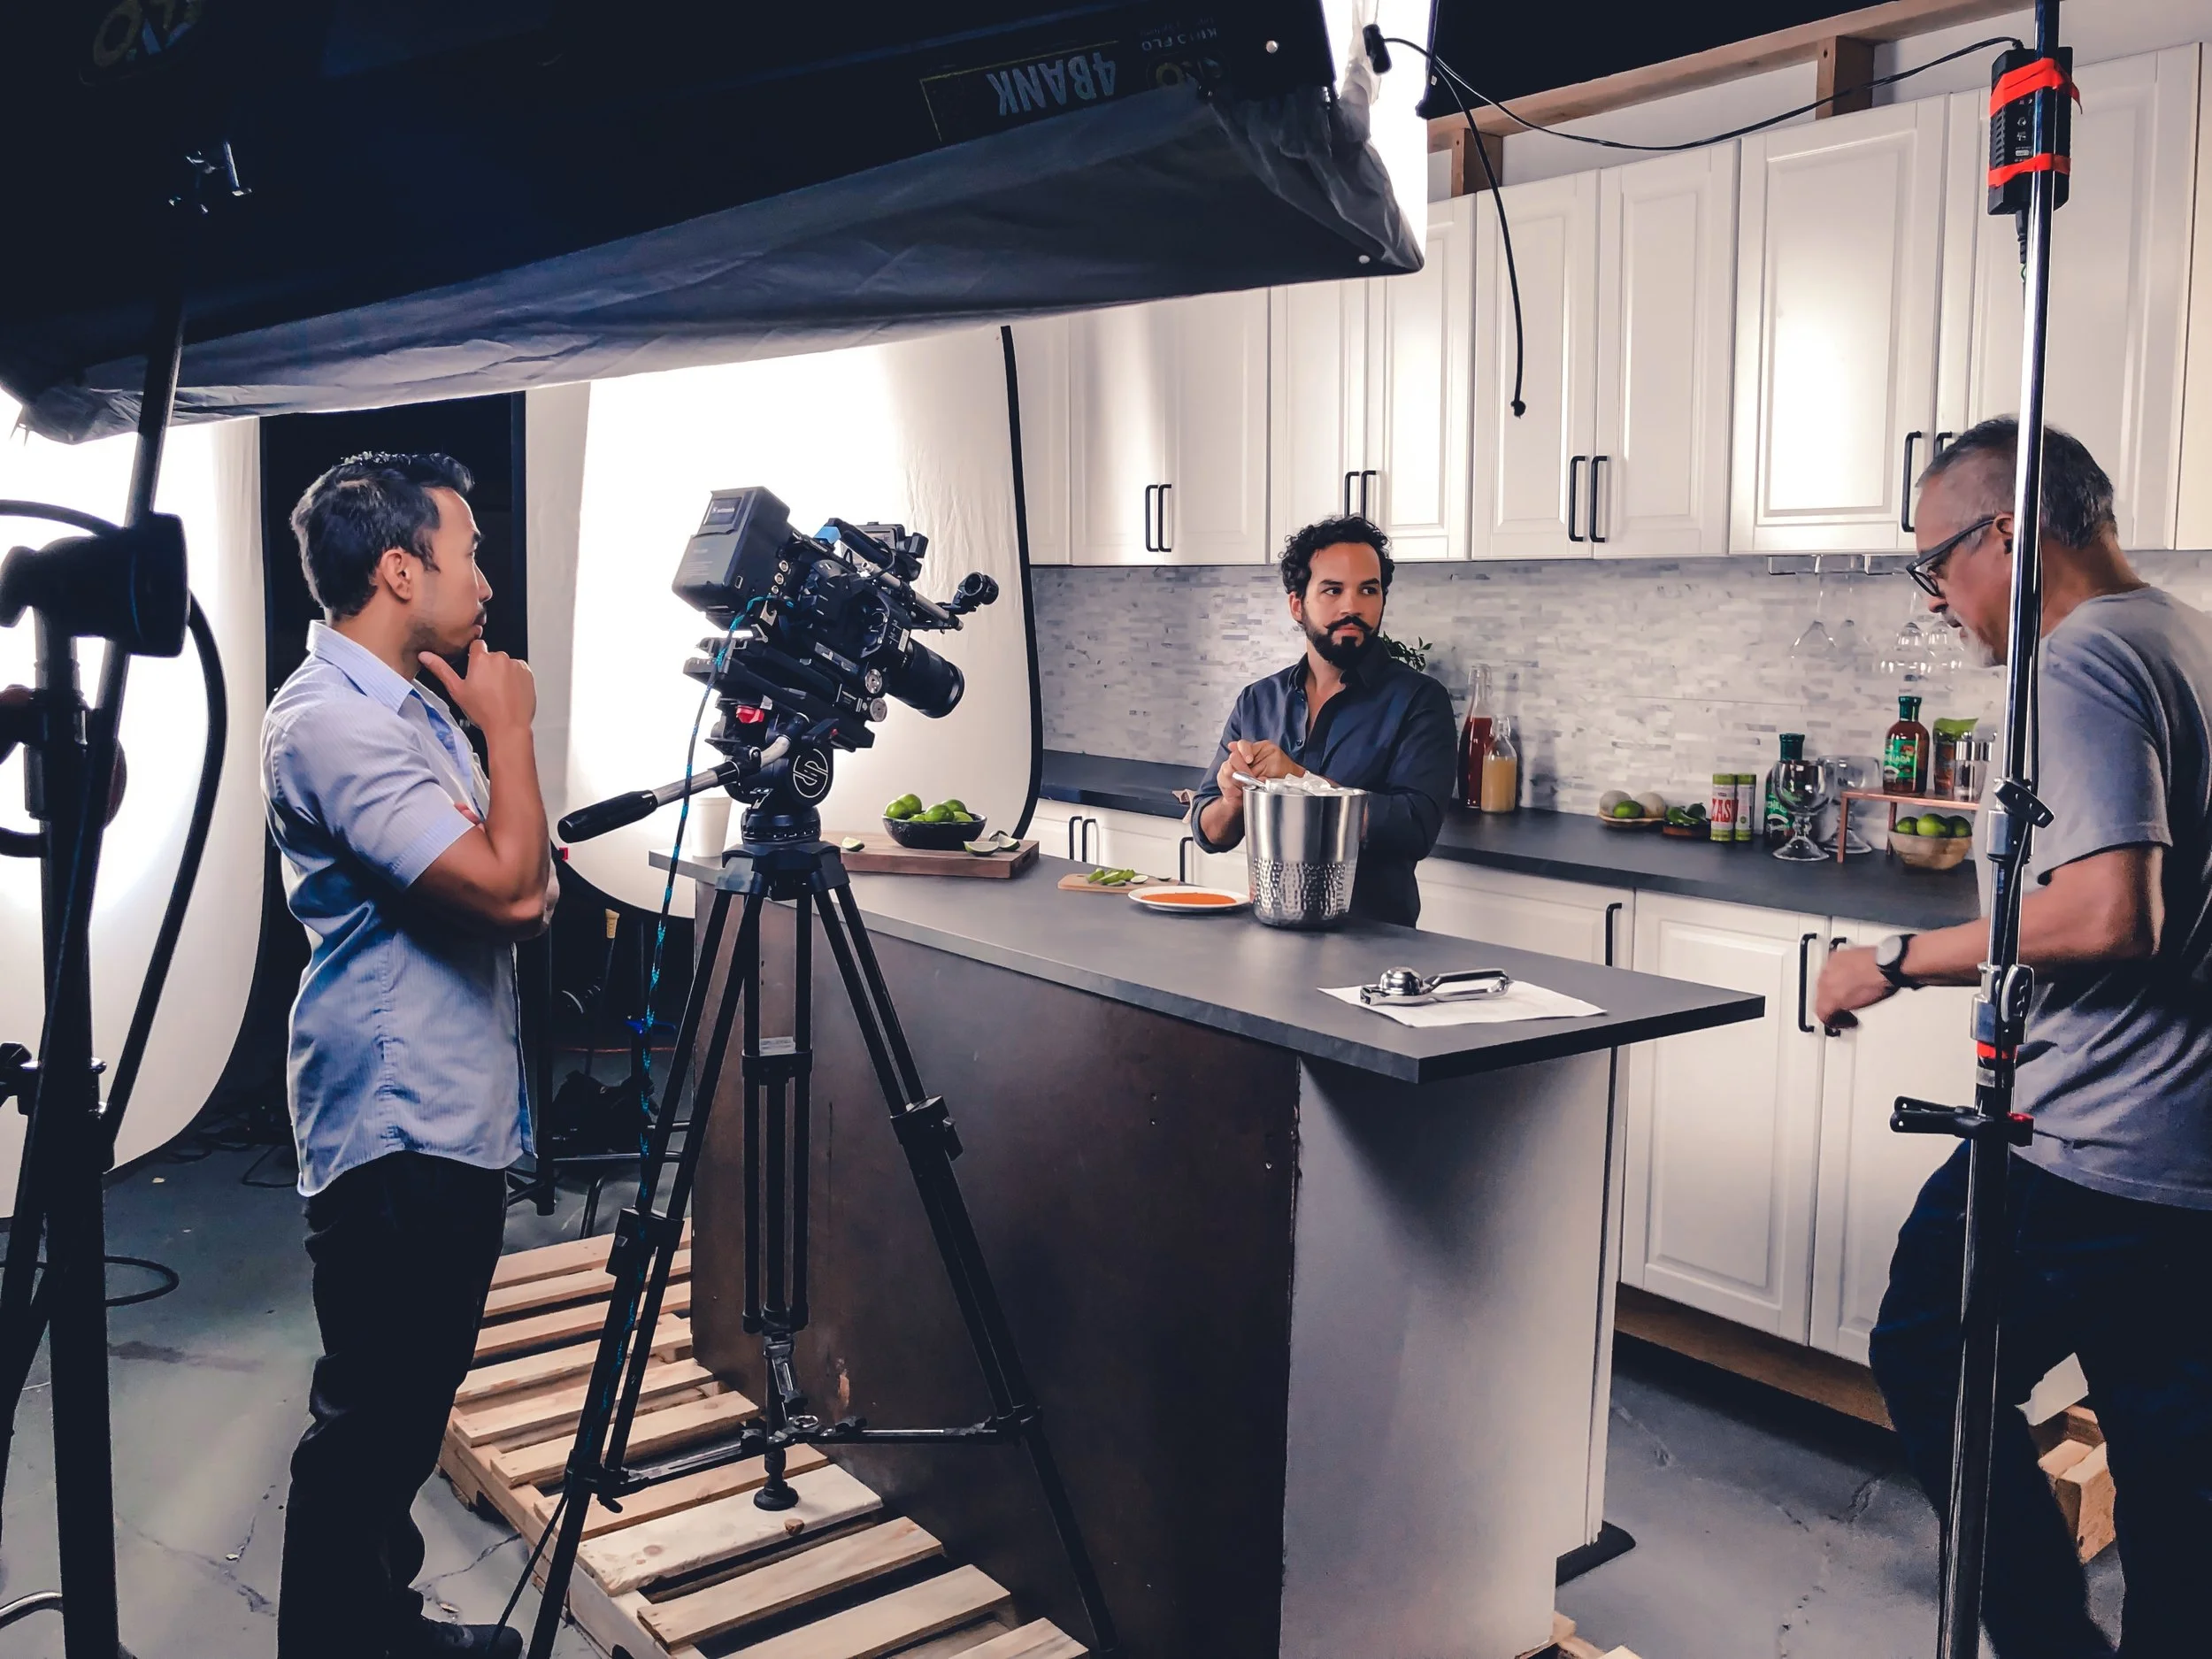
You just finished recording your video and while you look at the footage, you find that the camera shakes in certain parts of the video. You try to steady your hands in the next recording but to no avail. No need to create makeshift camera stands! Our research shows you 5 basic camera stands that should keep your videos smooth for the next production.

Unless you’re making a found footage film, having good camera stands is an absolute must. Shaky footage immediately gives off an impression of being an amateur. There are many more options than commonly known to keep your shots smooth, and we’re here to help you navigate a few of the basics.

Tripods:

Tripods are pretty simple. You put your camera on them, and you can get a stable shot. You can lengthen and shorten the legs to get higher and lower angles, and you can pan left and right, and tilt up and down. These are perfect for mostly still shots, but are lacking if you want to have any movement outside of pans and tilts.

Monopod:

Even though monopods are essentially a camera on a stick, they are still incredibly useful. These are used in situations where tripods are too bulky or heavy to film with, such as in public shoots. Monopods are used with the actual monopod as one leg and your own legs as the other two. They can also be used to get high angle shots, but do not provide as stable shots as other options. They are also generally fairly inexpensive. 

Glidecams and Gimbals:

Glidecams and gimbals are great for mobile shots. They both keep cameras steady during motion, but are fairly different. Glidecams keep the camera stable through weights and gravity, while gimbals use various battery-powered mechanisms. Both take a long time to set up. Glidecams are less expensive generally, but also has a steep learning curve. Gimbals are easier to use, but are also quite expensive. Which you get really depends on if you are willing to take the time to master the glidecam, or want the gimbal’s mechanisms to do it for you.

Sliders:

Slides are essentially tracks that you attach your camera to. These allow for smooth, dynamic shots, of either horizontal, vertical, or diagonal movement.

Consider Using Native Video as Part of Your Video Marketing Strategy

seth-doyle-3rcT6_NjjbU-unsplash.jpg

Are you new to creating videos and are looking for ideas to increase views and engagement? Try producing native videos! Native videos are videos created or uploaded on the platform for the platform. For example, a creative, like you, would record a video on a social media platform, like Instagram, and upload immediately after; or you could upload a raw video adhering to the platform’s formatting. Creating native videos helps you gain more organic reach and engagement with your viewers and keeps them on the platform without clicking on a 3rd-party site to watch the content. This will help you maintain any goals you have made on the platform and with your marketing strategy as well. The article offers examples of effective native video as well as tips to ensure the content and aspect ratio of the post is fit and tailored for the platform.

Credit: Written by Sian Hainsworth How using video natively wins more viewers and how to use it as part of your marketing strategy

How To Become a Successful Artist Through Consistency and Utilizing Digital Platforms

Get ready to hear more amazing stories from our podcast! In this episode, Leo Black shares his story of how his passion for music gave him more exposure on digital platforms. He also shares how he was able to overcome the struggles and hardships in his childhood, learn from his mistakes and become consistent towards the path to success to become a successful rapper. Leo Black is a rapper, artist, and influencer who has music on Spotify’s US viral 50 charts, toured with DJ Mustard and made song deals with the dubstep record label Never Say Die. Subscribe to our podcast and listen to episode 4 here: How To Become a Successful Artist Through Consistency and Utilizing Digital Platforms

Basic Lighting Equipment in 2019

Imagine that you have your equipment set up, your subject and crew are ready for shooting, but a shadow casts on your subject. You constantly try to fix the lighting but nothing seems to work out. Getting the right lighting shouldn’t cause you any stress. Let your videos shine with our basic lighting options!


Lighting is one of the most overlooked aspects of film. Getting just the right lighting for your production is imperative, as too much or too little of it makes it nearly unwatchable. Looking at all the options can be overwhelming, and we’re here to help you make your production perfectly lit. 

Types of lights:

Before you buy equipment, first consider the types of lights on the market. Incandescent lights are generally the least expensive and provide the most focused light, but also suffer from a short life span due to releasing large amounts of heat. Fluorescent lights last longer, but are also more expensive and give off softer light. LEDs give off more directional light, and also have a longer life span, but give off a softer light, and become less effective over time. Tungsten lights are industry standard and bright, but get hot over time and have short lifespans. Lastly, HMI lights have long lifespans and are more compact, but also are more expensive and have longer warm up times. 

Softboxes VS Umbrellas:

2 of the main types of lights used in video productions are softbox and umbrella lights. Softboxes provide more controlled lights that also reduces shadows, but is generally more expensive. Umbrellas are generally less expensive, and lights a wider area, but this also means there is little to no control over the light.

Other Options: 

Camera Mounted: Mounted lights are pretty self-explanatory: it's a light mounted to the top of your camera. While this does have limited options as the light source is always coming from the camera, it’s great for beginners and POV shots.


Barn Doors: Barn doors are the things you often see on theatre lights. Resembling, well, barn doors, these give the ability to shape light, giving much more options to filmmakers.


Stands/Mounts: These are pretty simple in that they give more options when it comes to lighting. You can get high and low angles, making your lights much more versatile.

How To Upload Videos onto YouTube

szabo-viktor-UfseYCHvIH0-unsplash.jpg

Ready to upload your video but don’t know how upload it to YouTube? Waste no more time by following these simple steps! YouTube allows for creators like you to upload and publish your video via computer and mobile phone- Android and iPhone/iPad. To upload via your computer, you can either sign in to YouTube Studio Beta and follow those steps or sign in to YouTube or upload by clicking the camera icon in Creator Studio Classic. Either way you choose you need to: click the upload button, select the video file, add a title, description, and thumbnail for your video as well as any additional settings such as video category, then preview your video and publish. The article includes additional information such as videos for mobile phone uploaders and information related to uploading videos. For example, the article explains why the upload and publish date may be different, the video resolution, and if you would like to publish videos over WiFi or not.

Credit: Written by Google Help & YouTube Help Upload videos - Computer - YouTube Help - Google Help

Free Camera Checklist

190930_Camera Checklist on A4 Mockupsml.png

Are you just starting out with video making and want to get the best footage out of your camera? Well we created this incredibly useful checklist that will make the videomaking process easy by getting your camera settings right before you capture the perfect shot. I’m a filmmaker that’s been creating videos for 10+ years and have shot with everything from DV cameras (yeah I’m old!), phones, and DSLR’s to an array of professional cinema cameras that cost more than a car. This step-by-step guide is a system I’ve created and used over the years whenever I’m about to shoot a video. It ensures that my settings are correct for the type of look I’m going for, as well as a list I give to my assistants on set so they can adjust all cameras at the correct settings so the footage is consistent and I’m not going crazy during post-production. Whether it’s for your vlog or marketing video, this checklist will make sure your camera is set correctly without having to think too much about it, so you can spend more time visualizing your creative shots or figuring out how to balance that finicky gimbal!


So when you’re ready for a shoot, print out this checklist and cross off each step before you shoot.  Type in your settings on the dotted lines so you can keep it consistent with other cameras on your set.  As a beginner, you’ll be ahead of most YouTube creators.  If you’re a pro, this is a great way to get your camera settings dialed with your AC while you’re busy running the shoot.

Just remember to have fun!

Download the checklist here

Diversify Your Content on These Social Media Platforms

aditya-chinchure-wmkPVpQlZSc-unsplash.jpg

Have no idea what to post on social media? With so much content out there, it can be overwhelming and quite upsetting when your content doesn’t reach your audience. This article shows you which content performs better on major social media platforms, given the design of the platforms. The article guides you through each social media platform with visual examples, content tips, and external links for those that want to learn more on the specified topic. The types of videos, visual graphics, photos, stories, and news posted on the major social media platforms may perform better in engagement on different platforms. Therefore, it is important to post content that works well for your business and industry. This can be done by searching the keyword of the subject and updating your content strategy! Diversifying your content to multiple platforms can not only build your brand but also create value for your audience.

Credit: Written by Alfred Lua What to Post on Each Social Media Platform: The Complete Guide to Optimizing Your Social Content

How To Teach Breaking All Over The World and Build Your Online Brand with Zach Benson

Welcome to our podcast! Listen to episode 3 of Creative Haven’s podcast on how Zach Benson developed his dancing passion into his business of teaching entrepreneurs. In this episode, Zach, entrepreneur, dancer, Bboy, and ex-Personal Trainer, talks about the value of exposing yourself to different dancing styles and culture, the chance of receiving opportunities, the ability to market yourself as a brand and help entrepreneurs and influencers feel valued and appreciated. Interested? Subscribe to our podcast by clicking this link: How His Passion for Dance Helped Him Create a 6-Figure Business and Now Works With Today's Top Influencers and Entrepreneurs

Check out this interview with Zach and subscribe to our YouTube channel to learn more!

Who's Who on Your Video Production Team?

stephane-yaich-wboXyUolcvI-unsplash.jpg

Interested in setting up your video production team? Do you often feel confused as to what the roles or hierarchy is on your team? Well, this article has all the video production team information you need. The standard hierarchy of the production team is the producer, director, first assistant director (1st AD), director of photography (DP)/cinematography, digital imaging technician (DIT), camera operator, first assistant camera (1st AC), lighting director (LD), gaffer, key grip, audio technician, set designer, and production assistant. It is important to note that, especially in smaller teams, multiple team members may perform multiple roles.

Credit: Written by Alisa Vossen The Roles and Hierarchy of a Video Production Team

6 Best Editing Softwares in 2019

Trouble with your current editing software? Want to know which editing software is needed for your videos? Various editing software offers many features that should benefit you and make your videos stand out! We’ve got a list of some of the best editing software to help make your editing software decision!

There are 3 stages of making a video: pre-production, production, and post-production. Post-production can easily make or break any video, and having a software to fit your video’s needs is essential. There are hundreds of great ones to choose from, and we’ve compiled a list of 6 to suit your needs in any circumstances.

#1 - iMovie. iMovie is one of the most well-known editing softwares for beginners. Coming free with all new Mac devices, it's a no-brainer as to why so many people use it as their software of choice. It also is available on the App Store for iOS devices. This software is best for people who have never gotten into editing, or only want a basic edit of their video production. Aside from the basics of cutting, transitions, and sound effects, iMovie does not have nearly the amount of bells and whistles of other editing softwares. It can also export directly to social media platforms, such as YouTube and Facebook.

#2 - Hitfilm Express. Also free to download, Hitfilm Express is one of the most advanced free editing software in 2019. Available on both Mac and Windows, Hitfilm Express caters to both newcomers and more advanced editors, offering many features, but also tutorials. This makes the learning curve less steep. On top of that, it offers over 500 video effects to make your production stand out. There are downsides, however. Many options, such as export options, are locked behind in-app purchases. These are not mandatory by any means, and Hitfilm Express is a great free software.

#3 - DaVinci Resolve 16. Free to download and is the industry’s #1 color grading and correction software. Black Magic has made an incredibly robust non-linear editing program that’s as good as Adobe Premiere, with the best color grading software attached - it’s optimal choice for advanced editors who can’t afford Adobe Premiere or Final Cut Pro X. Black Magic is also a reliable brand that produces their own camera line, which syncs well when using the software alongside their products. It requires training to understand and use so beginners may have a hard time picking it up at first, though once you get the hang of the software and learn how to color grade properly, you could transition easily into Premiere or FCP and have the knowledge of the industry-standard color grading software.

#4 - Adobe Premiere Elements. Moving on to the first paid software, Elements is available on Mac and Windows for the price tag of $60 USD. Elements offers guided edits to beginners, making it very user friendly. It also offers many interesting features such as Quick Edit mode and Sceneline. Unfortunately, the software still does not offer some options as others, and suffers from relatively slow render and export times, but is still a great option for users of nearly all levels.

#5 - Final Cut Pro X. Available on Mac for $300 USD, Final Cut Pro X offers an extremely clean, powerful software. While it is targeted for more experienced editors, Final Cut’s organized interface allows beginners and veterans alike to produce professional content on the platform. Final Cut offers many animations in the software, and generally renders and exports faster than contemporary software. Unfortunately, at a $300 price tag, it is one of the most expensive software on the market. Final Cut’s file management system can also be tedious at times. It also has no manual save feature and occasionally crashes, leaving the possibility of losing progress. These crashes are few and far between, however, and Final Cut Pro X offers one of the cleanest, most efficient editing software in 2019.

#6 - Adobe Premiere Pro CC. Adobe Premiere Pro is the industry standard in film production. Available on both Mac and Window, Premiere Pro has a monthly subscription price tag of $21 USD. It offers extensive options, making it potentially more versatile than any other software. With incredibly professional color grading, video effects, etc., it is no surprise to why Premiere Pro is used by industry professionals. Unfortunately, the software has a fairly steep learning curve, with the interface being less intuitive than contemporaries like Final Cut Pro. On top of that, similar to Premiere Elements, Premiere Pro suffers from slower render and export times. Despite that, this is a must-have for editing experts and enthusiasts, and will not disappoint.